Creating WebDAV Solution with Microsoft Identity Platform Authentication (Entra ID / Azure AD)
In this guide we describe how to create a WebDAV Integrated solution with Microsoft Identity Platform authentication (Entra ID / Azure AD) support. Here we will generate WebDAV server with Entra ID authentication as well as Virtual Drive and Web UI projects that can connect and manage data on your server.
You will be able to open and edit documents both using mounted drive and web user interface, authenticating using your Entra ID/Azure ID credentials, after completing this guide.
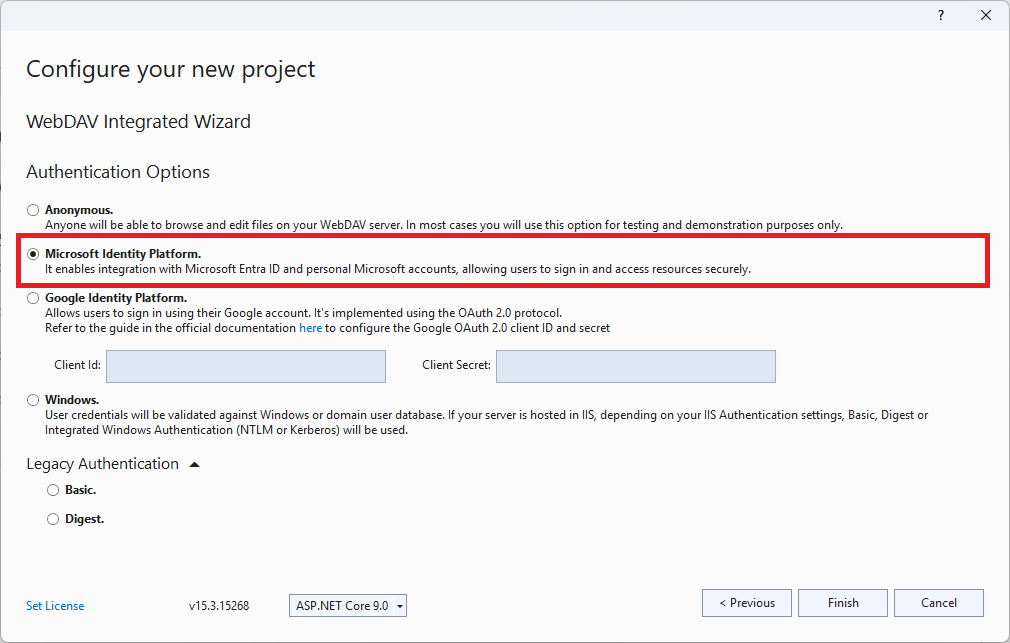
1. Generate WebDAV Integrated solution with Microsoft Identity Platform option
Run the WebDAV Integrated Wizard in Visual Studio. On the Authentication Options step select the Microsoft Identity Platform option:
Finish the wizard.
2. Configure Microsoft Identity Platform
When code generation completes, the Visual Studio will automatically display your Server project Connected Services screen with "dotnet msidentity tool" installation. It is required to create Identity Platform project in Visual Studio.
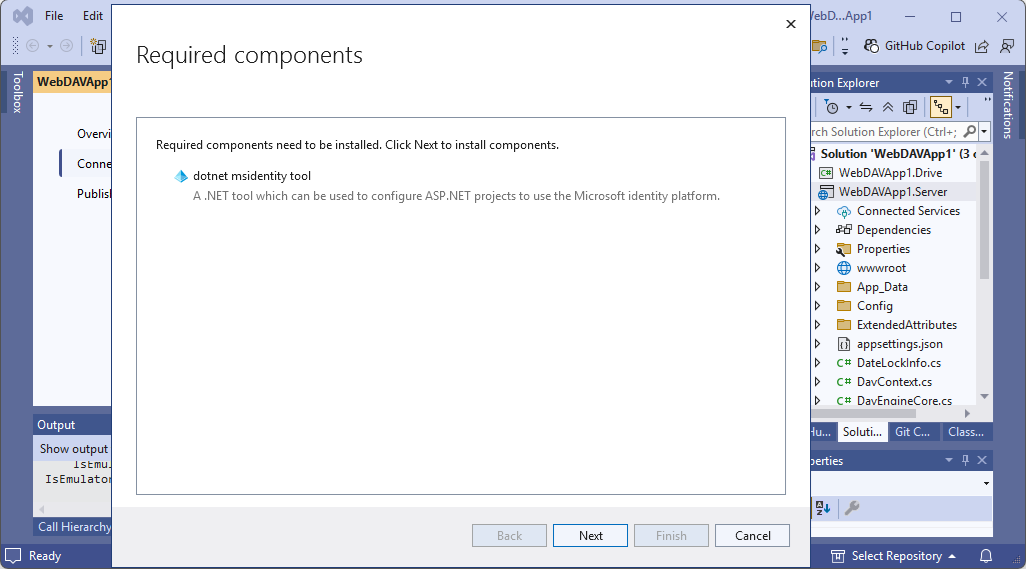
Complete the installation. The Connected Services screen with Microsoft Identity Platform list of application appears automatically appears.
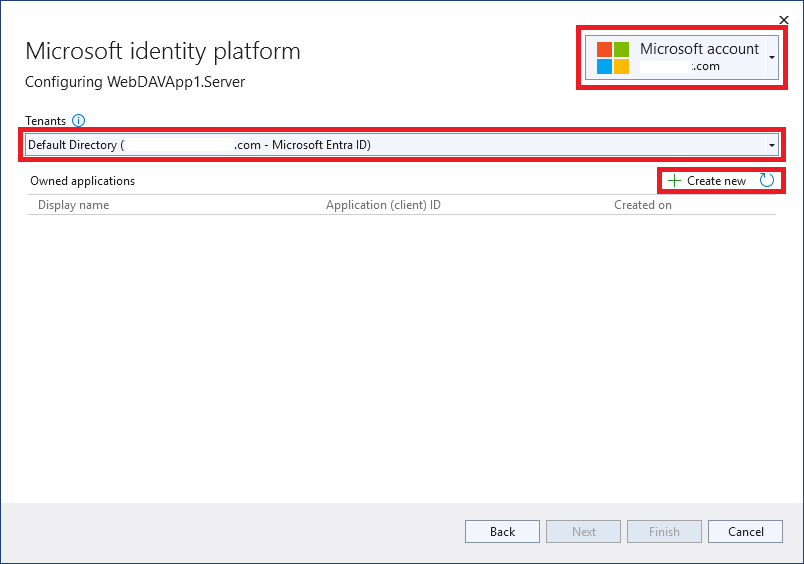
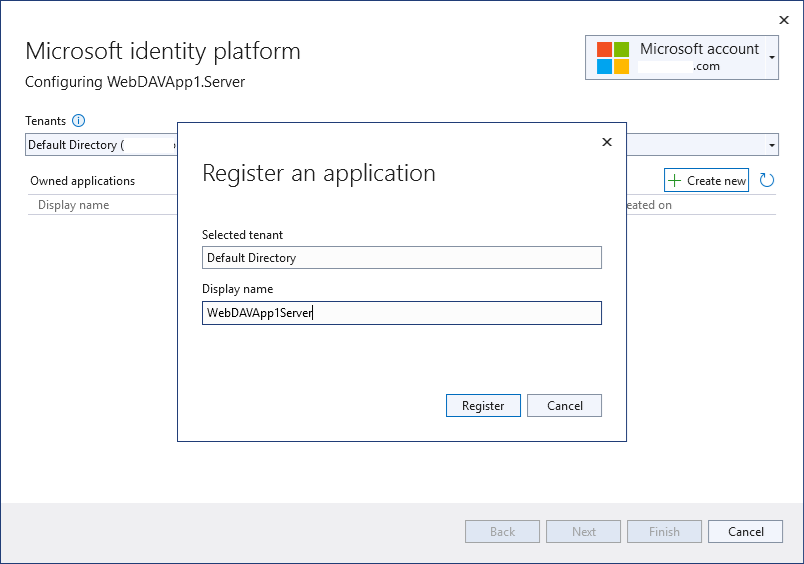
Select the account, directory where your application will be created and select Create new button:
Provide the application name:
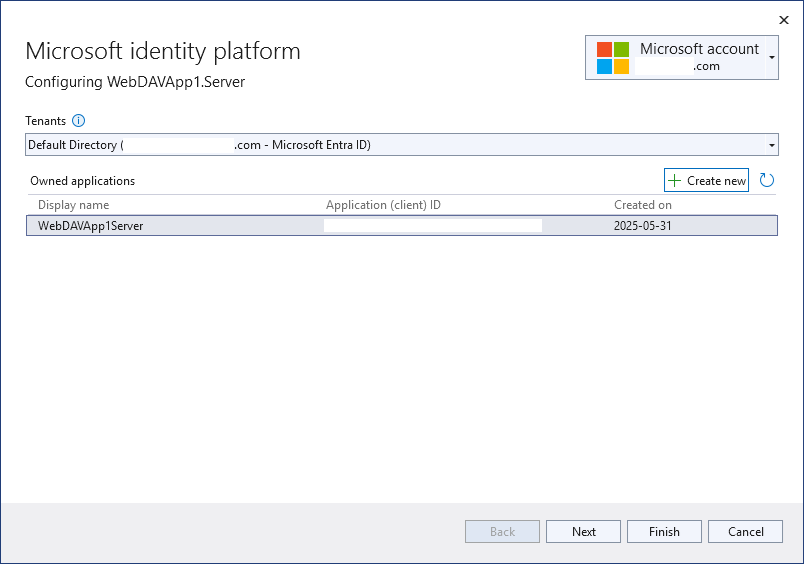
The new application is created:
You do not need to customize the following steps. Complete the wizard by selecting Finish.
Your remote application registration is now updated.
3. Start the solution
Start the newly generated solution from Visual Studio. The solution is configured to run multiple projects. When you start it, both your Server and your Drive projects start.
The Drive application automatically mounts a new drive on first start (or if the drive was unmounted during previous runs). This is done for the sake of development and debugging simplicity. In your real life application, the client and server are deployed on separate machines and start separately.
Both your Drive project and Web UI will display the login screens:
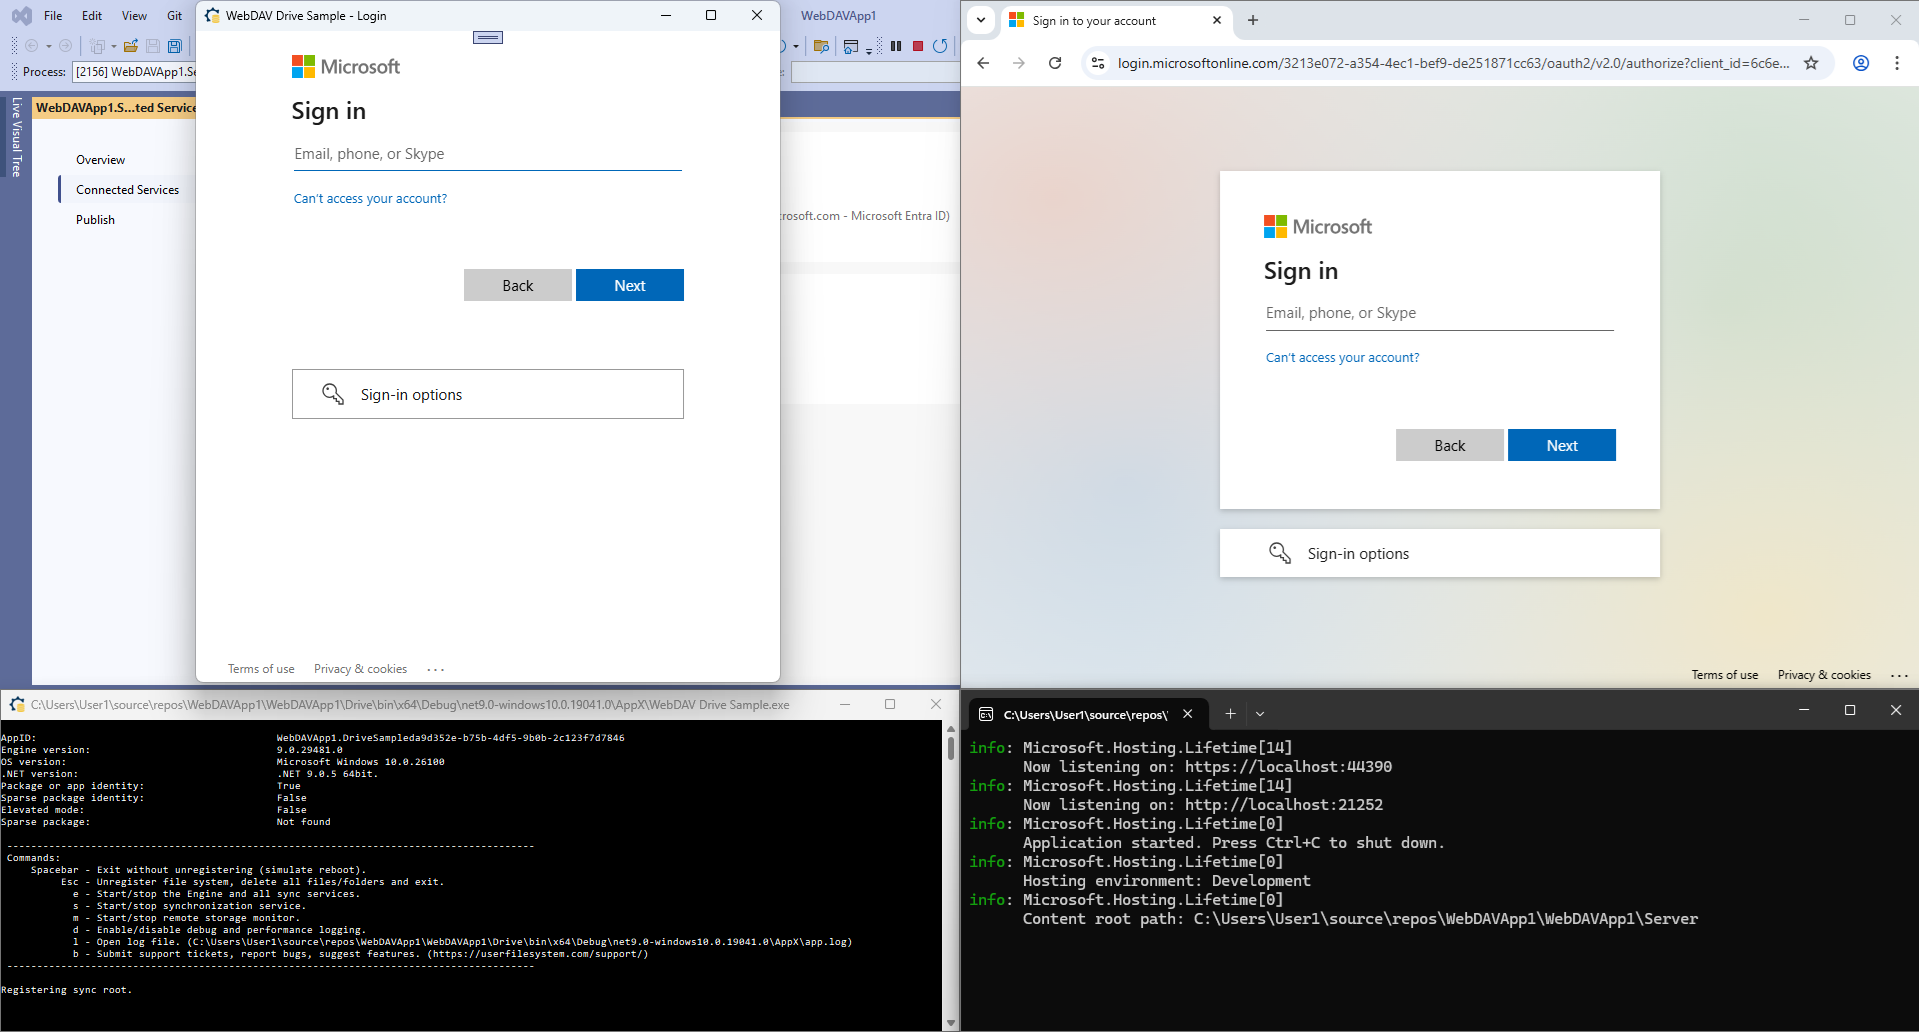
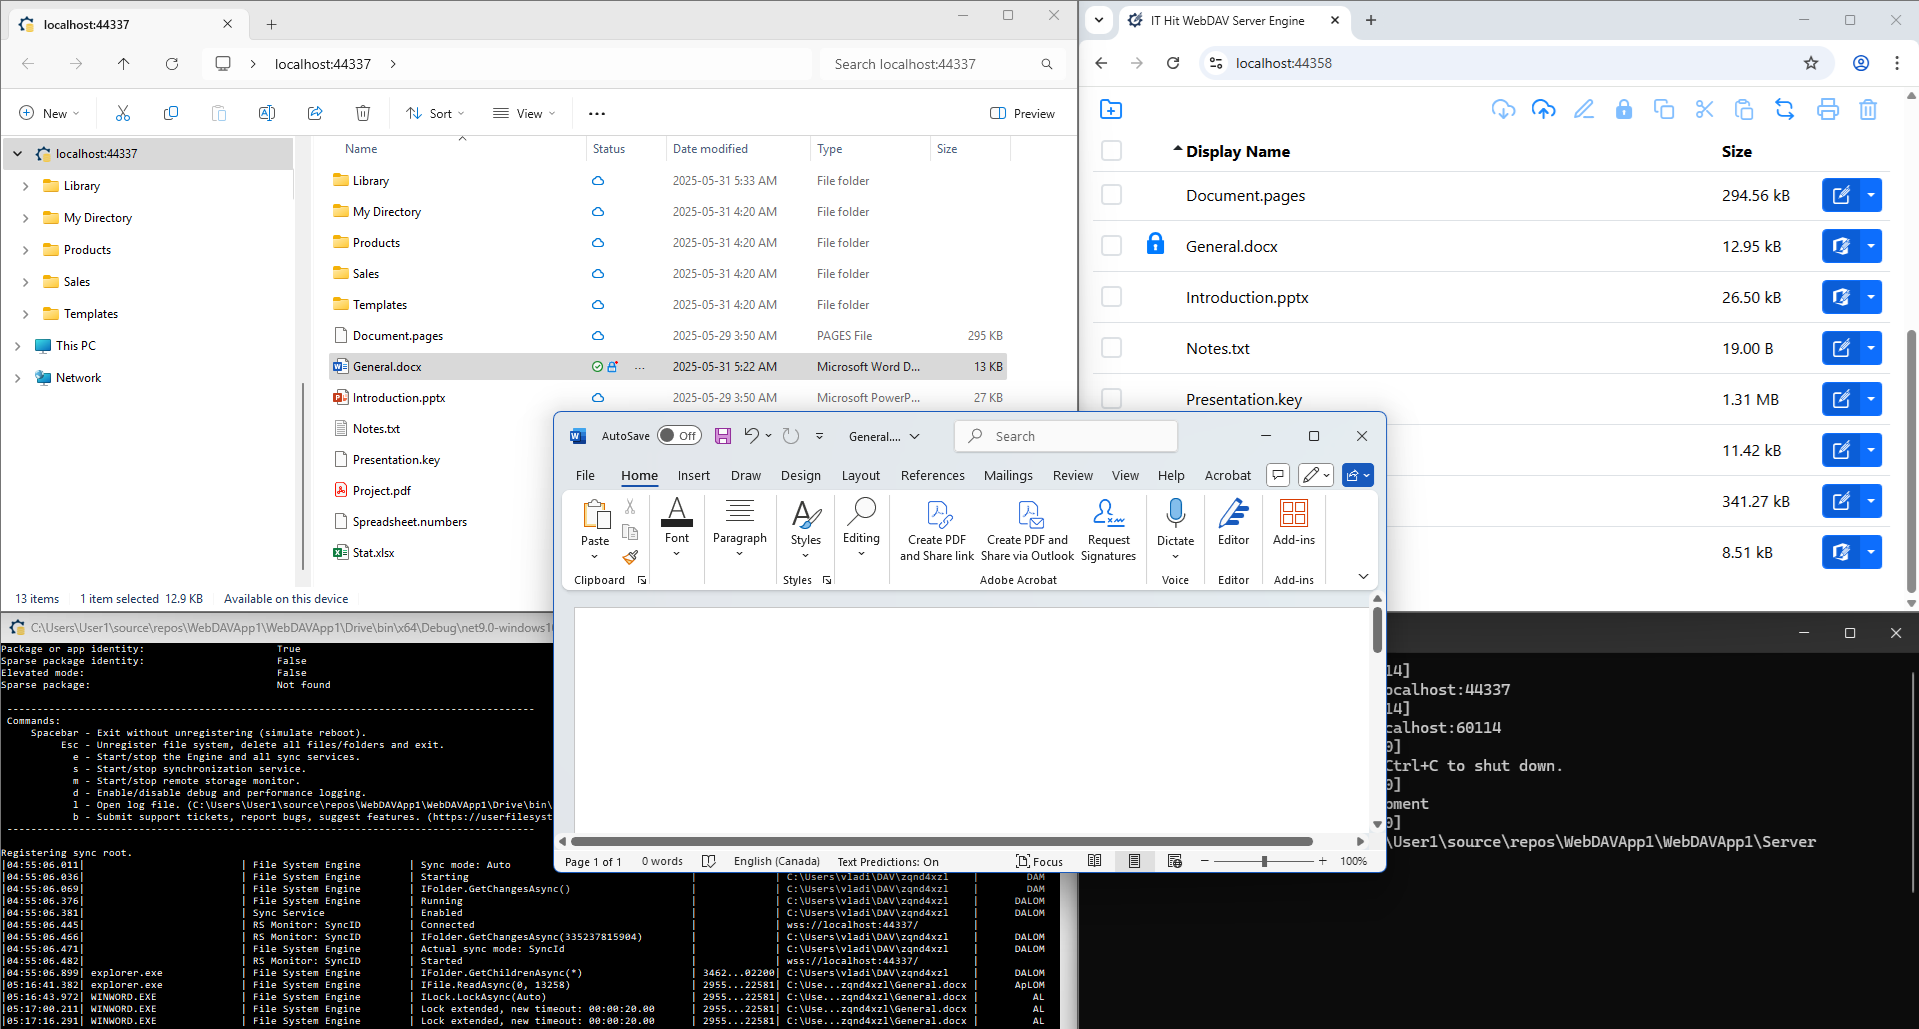
Enter Entra ID / Azure AD credentials for the account from the directory that you specified when registering the application. The drive will mount and Web UI will load displaying content of your storage:
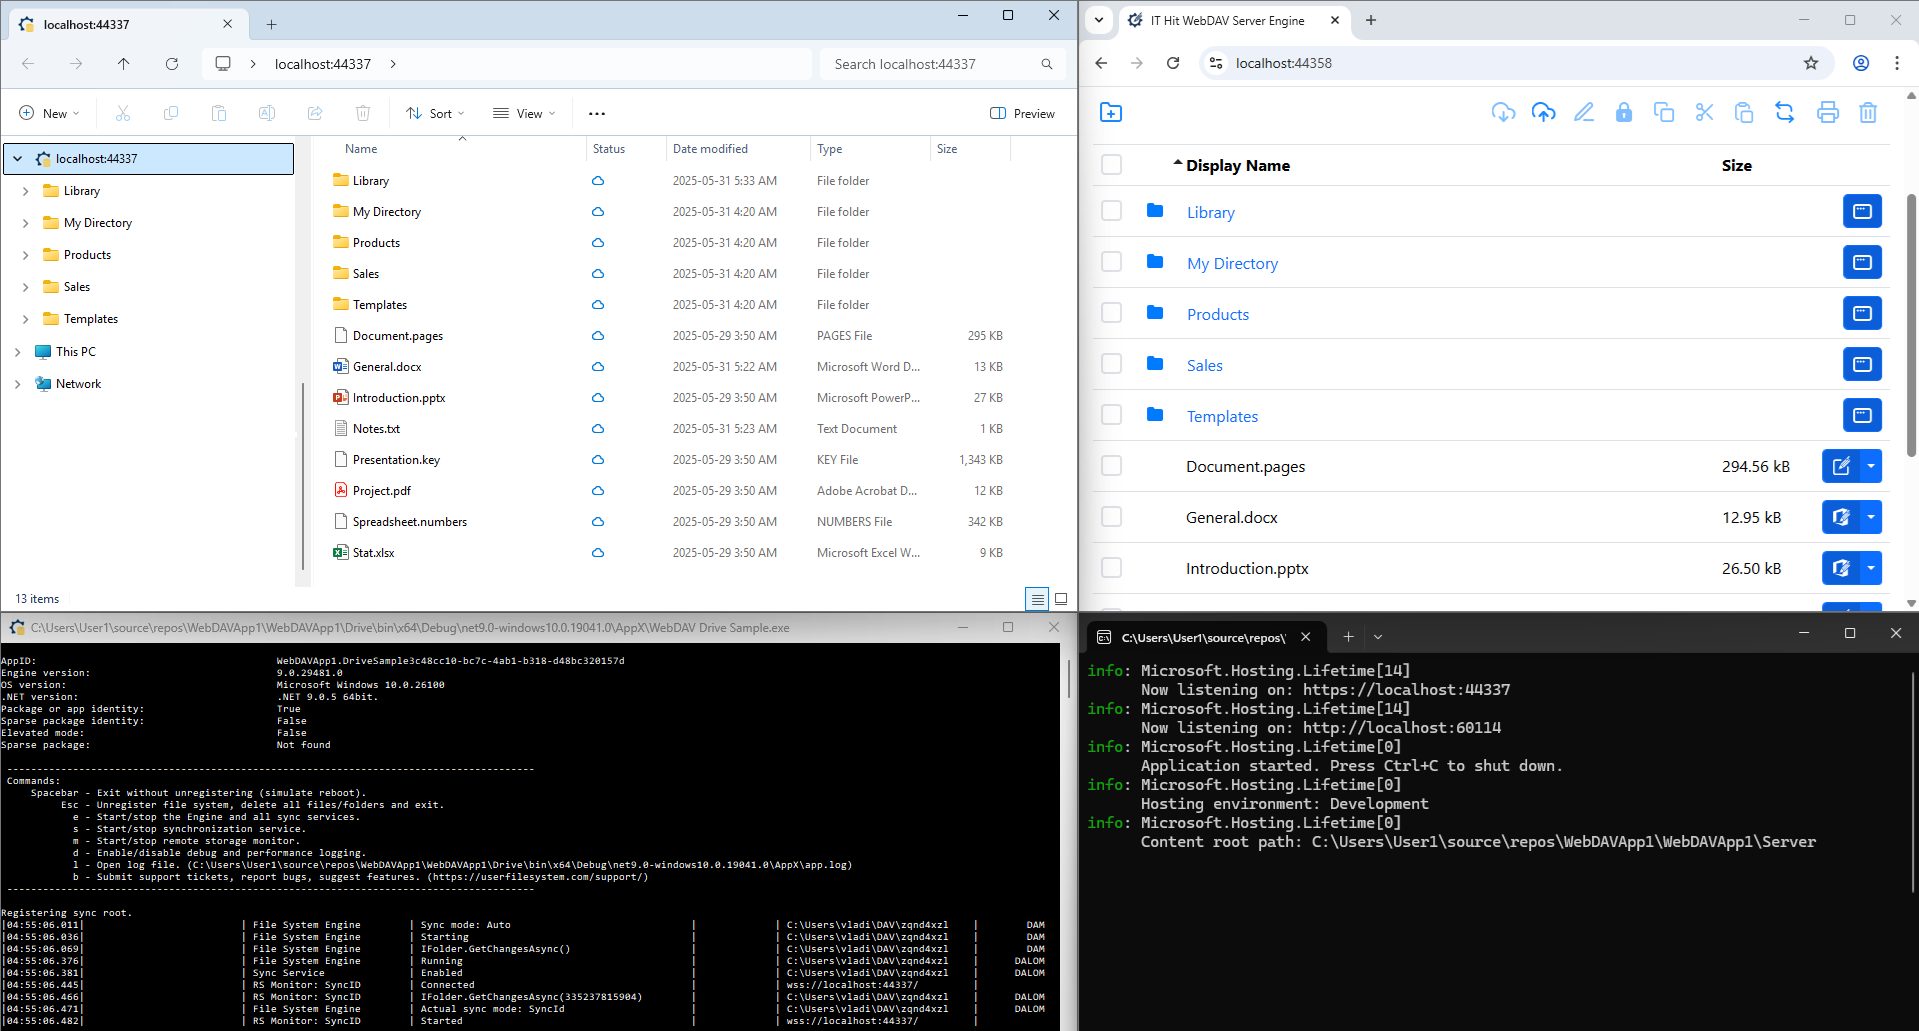
Now you can open documents from the mounted drive or from Web UI, edit and save back to the server: