IT Hit Edit Any Document for SharePoint Installation and Configuration
You can download the IT Hit Edit Any Document for SharePoint and a license file in the product download section.
The product is provided as a SharePoint ribbon/toolbar document library add-in and as a columns add-in. You can install both add-ins on one website or you can install only one of them.
Both add-ins are provided for SharePoint Online (ITHitEditAnyDocument[***]SPSOnline[***].sppkg) and for SharePoint On-Premises (ITHitEditAnyDocument[***]SPSOnPremises[***].sppkg) editions, which provide identical functionality. Download and install the add-in which is appropriate for your environment.
To install the IT Hit Edit Any Document you will need to deploy it to the SharePoint catalog, add it to your website and install a protocol application on a client machine. Follow the steps below:
-
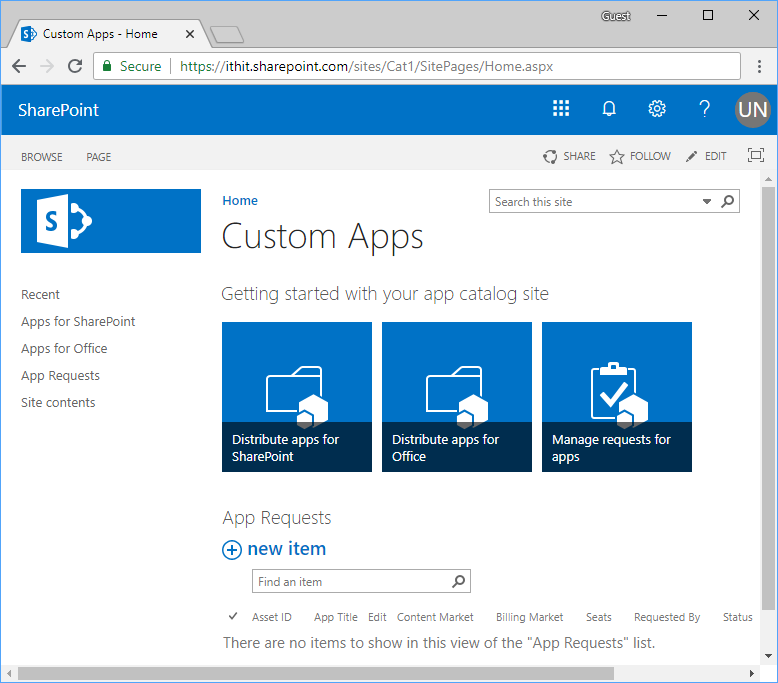
Navigate to your application catalog.
You can find your catalog URL in SharePoint Admin Center. For example for SharePoint Online go to https://portal.office.com. Then navigate to Resources -> Sites:
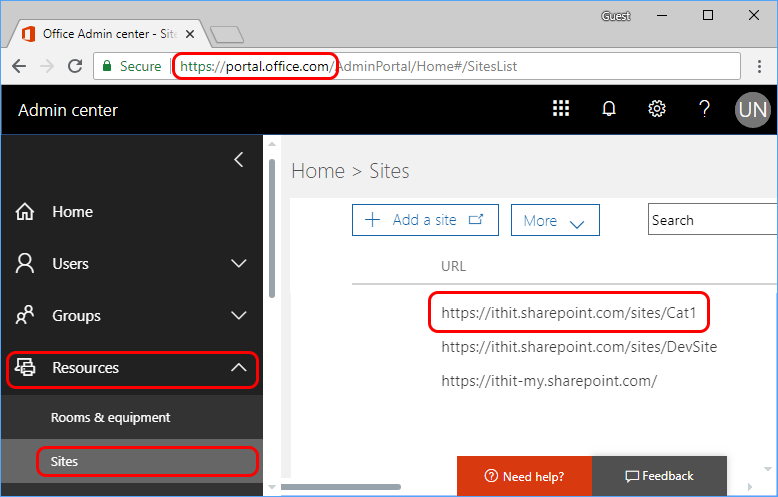
Note that SharePoint Online provides only one catalog per account for all websites, while SharePoint OnPremices can have more than one catalog, each associated with one or more websites. You need to determine which catalog is associated with the website where you plan to install the IT Hit Edit Any Document in case of the SharePoint OnPremices installation.
-
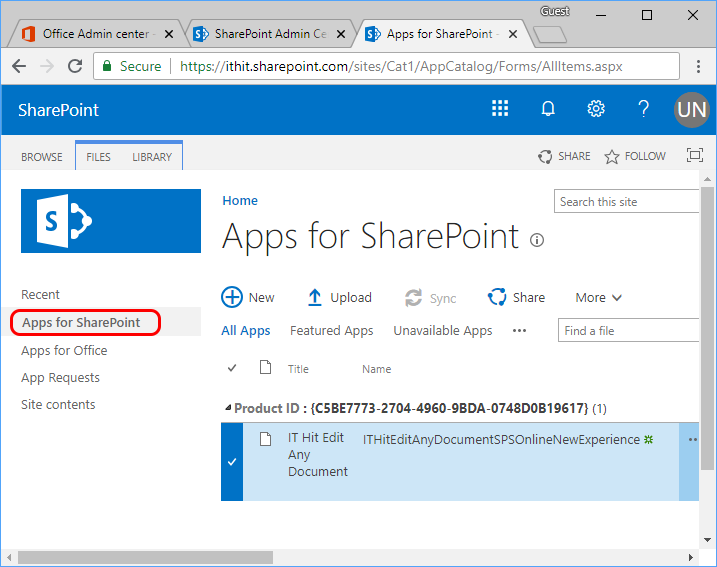
Upload Edit Any Document SharePoint extension or add-in to SharePoint Catalog. Go to Apps for SharePoint section and upload an Extension or Add-in.
-
Choose tenant-wide or per-site deployment. Tenant-wide deployment is available for ribbon package for SharePoint Online only (ITHitEditAnyDocumentRibbonActionsSPSOnlineNewExperience.sppkg). SharePoint On-Premises, as well as columns package, does NOT support this option. Find more details here. When the upload completes you will see the "Do you trust IT Hit Edit Edy Document" dialog:
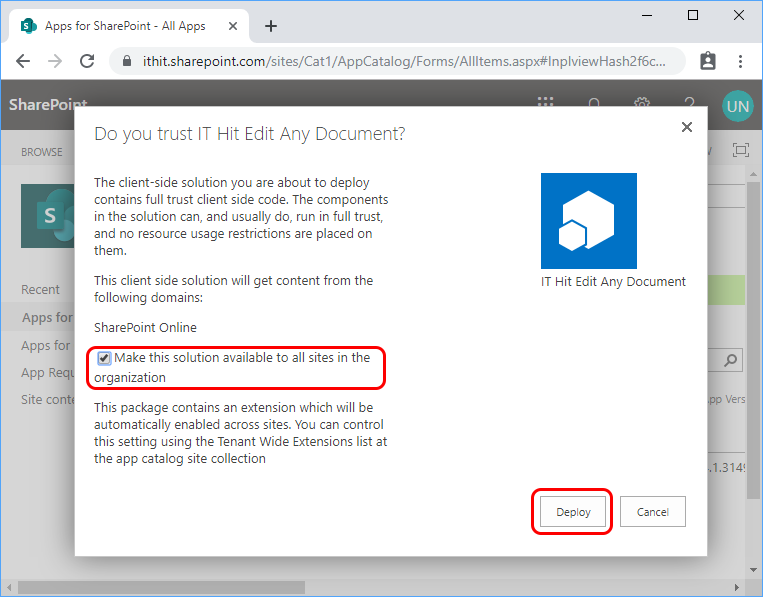
- For tenant-wide deployment select "Make this solution available to all websites in the organization". If you select the checkbox, the application will NOT appear in the applications list. Instead, it is automatically deployed to all websites.
- For per-Site deployment do NOT select the checkbox. In this case, you will need to add the application to each website separately.
Finally, select the "Deploy" button.
-
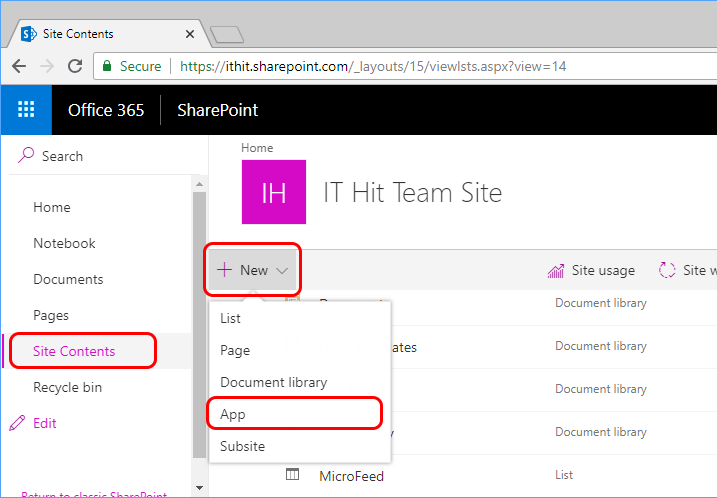
Add the application to your website. Important! This step is required only if you did NOT check the "Make this solution available to all websites in the organization" checkbox when uploading the extension to the App catalog. Go to your SharePoint website, navigate to Site Content. Select New -> App option.
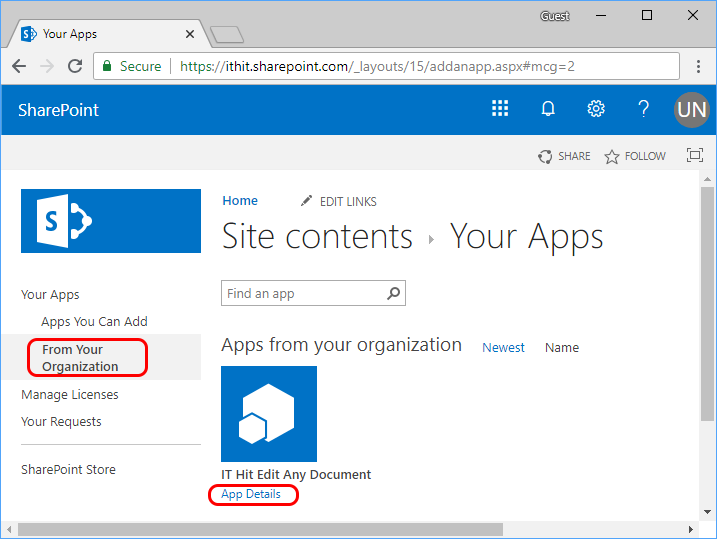
Find application in the catalog under Your Apps -> From Your Organization section. Select App Details:
Select ADD IT:
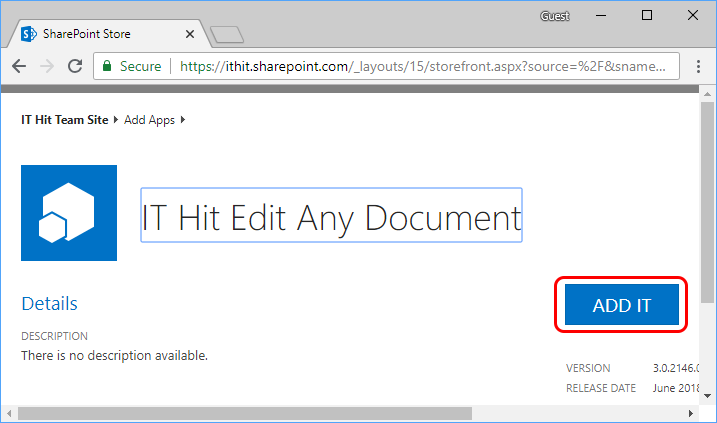
Important! In the case of SharePoint Online, application deployment may take up to 10 minutes.
-
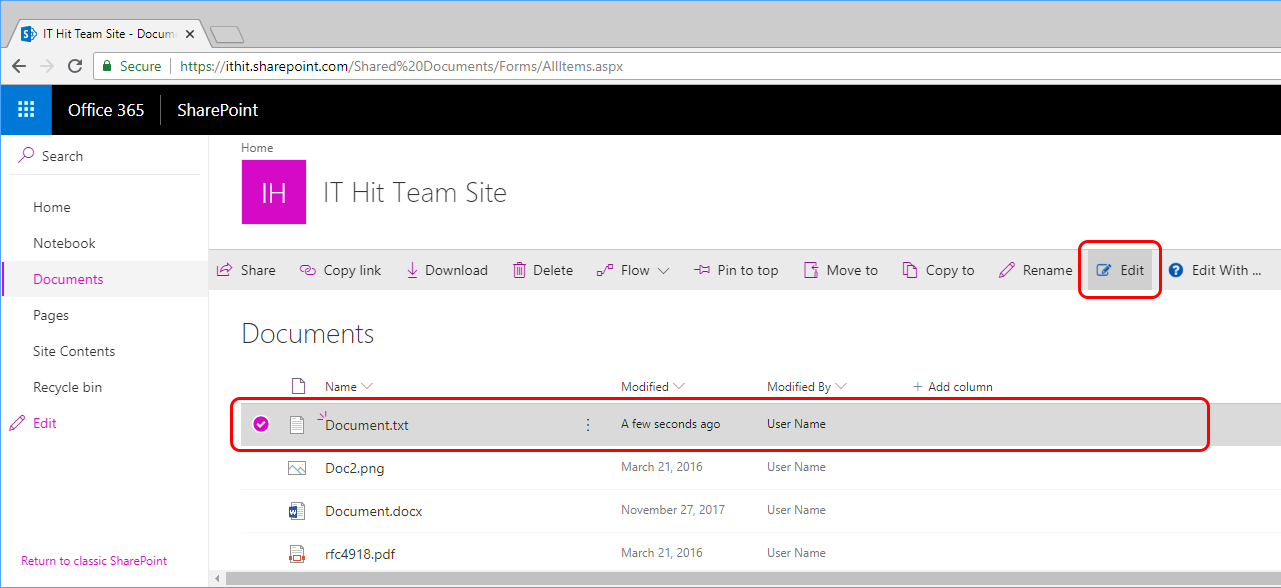
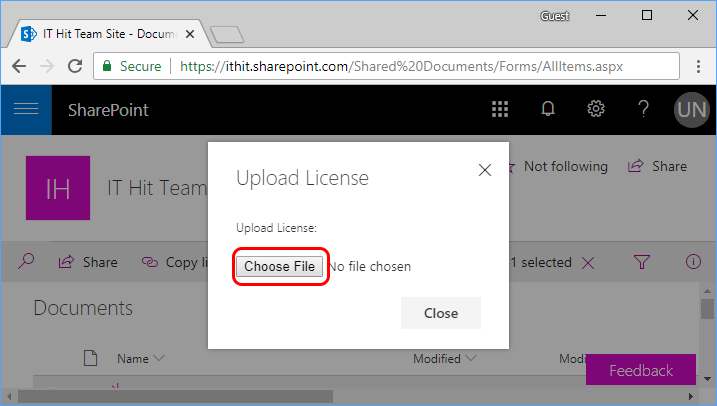
Set license. During the first document access, you will be requested to set the license file.
Go to your documents location and select any non-Microsoft Office document. For example a .txt, .pdf, .dwg or .png file. Select "Edit" on a toolbar.
Set a license file:
You can generate a trial license in the product download section. The product is fully functional and does not have any limitations. After the trial period expires the product will stop working.
To set the license, a user must have Edit or Design or Full Control privileges on the SharePoint root. The license setup is a one-time server setup process, the end-users would not be asked to set the license. Important! If the end-user is asked to set the license, this means the user may not have enough permissions to read the license. See Verifying License Access Permissions article for how to verify user permissions.
-
Install a client-side protocol application. Protocol application triggers opening a file stored in SharePoint in the associated application. For example for .txt file is associated with Notepad by default on Windows machine.
Select any non-Microsoft Office document again and click Edit. The Edit Any Document automatically detects if you have a protocol application installed on a client machine and if protocol app is not found the download dialog is displayed:
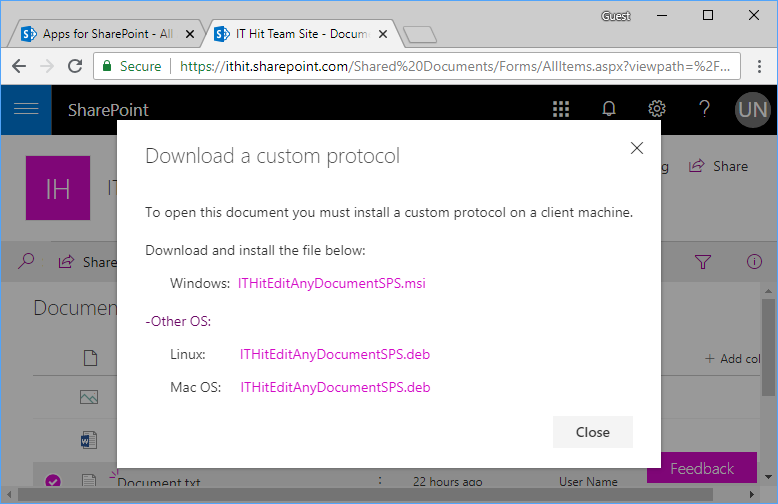
Select the required protocol application installer depending on your OS and install it:
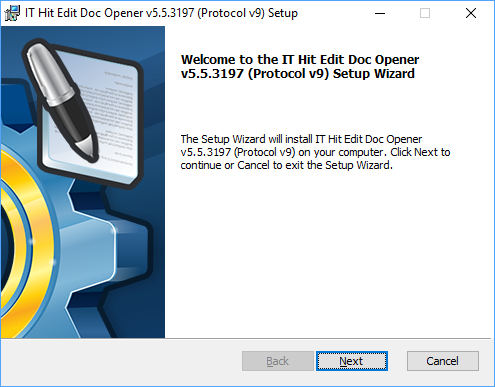
When installation finishes make sure to do the following:
-
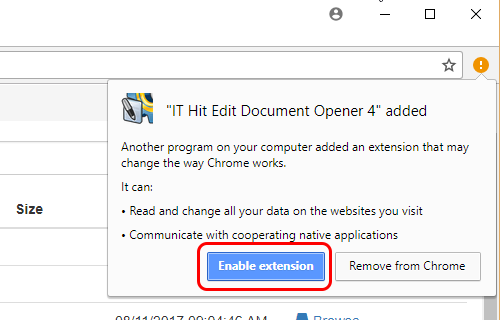
Enable web browser extension. For example for Chrome the extension activation looks like the following:
-
Refresh your web browser web page.
Find detailed instructions about enabling extensions for Chrome, Firefox, Edge, IE and Safari and troubleshooting protocol application detection presence in Protocol Application Detection and Installation article.
-
Now you are all set to open non-MS Office documents from SharePoint. If you experience any issue the first thing to do is to check the Troubleshooting Protocol Application Issues article.
See Also:
- Verifying License Access Permissions
- Replacing License
- Protocol Application Detection and Installation
- Troubleshooting Protocol Application Issues
ITHitEditAnyDocumentRibbonActionsSPSOnlineNewExperience.sppkg