Adding the Edit Button Column
This article describes how to add and Edit column to your SharePoint document library.
-
Install the Columns application. Install the ITHitEditAnyDocumentColumns[***].sppkg add-in to your SharePoint application catalog. Then deploy the IT Hit Edit Any Document Columns application to your SharePoint site. See the IT Hit Edit Any Document for SharePoint Installation and Configuration article for the step-by-step instructions.
Note that Columns add-in supports only per-site deployment. SharePoint does NOT support the tenant-wide deployment of column definitions. You will need to deploy the columns application to each site individually. You can also automate the deployment using the deployment script that installs the application to the catalog, deploys to the SharePoint site, adds columns definitions, and adds columns to the default document library view. You can find the ready to use the script here: SPS.AddColumnsToList.zip
-
Add column(s) to the document library. After you install the application the columns are NOT added automatically, you need to add them manually to the document library.
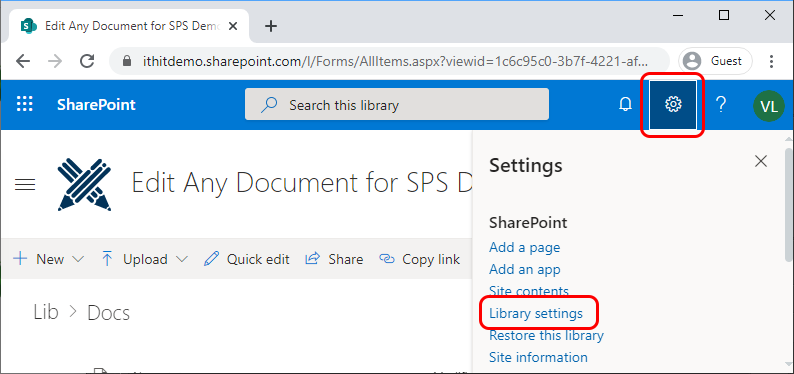
Select Settings -> Library Settings:
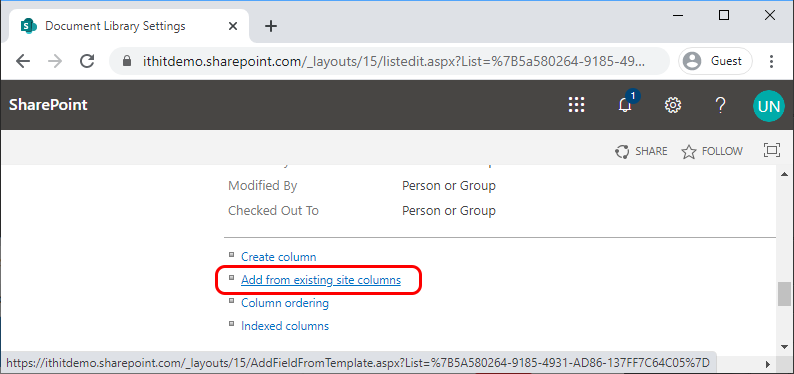
Select Add from existing site columns:
Select "IT Hit Columns" in the dropdown menu. Select column(s) to add ad add them to the site. Finally, select OK.
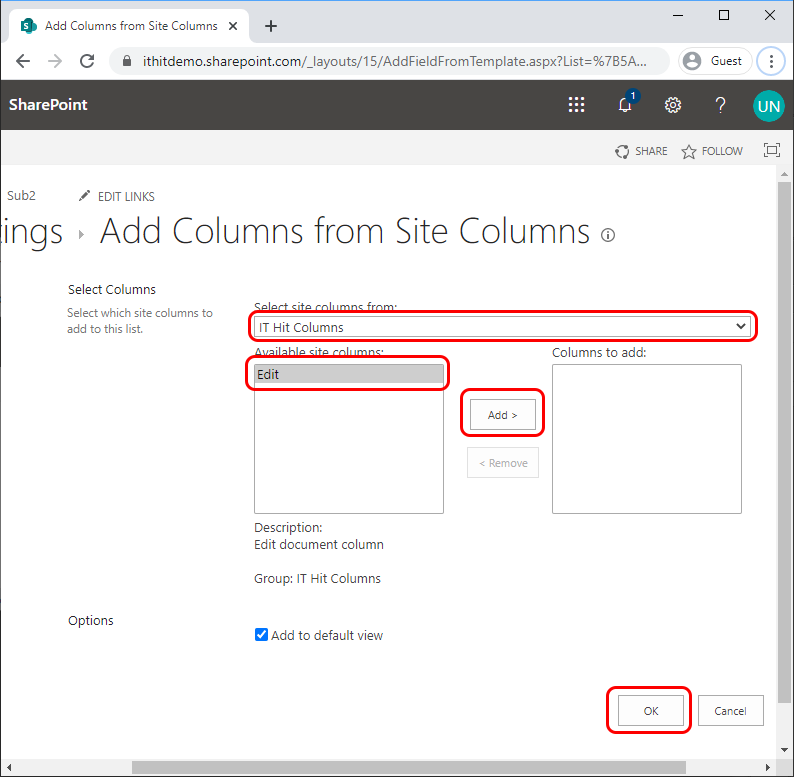
If you check the "Add to default view" checkbox, column(s) will be added immediately to the default view. Otherwise, you will need to add them to the documents view via Add Column -> Show/Hide columns in the document library.
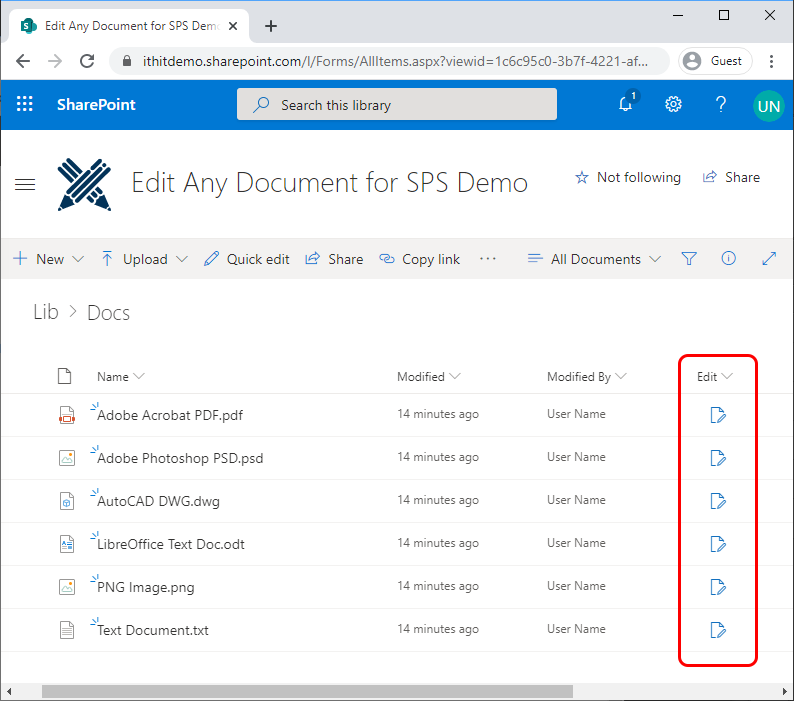
Finally, the new Edit column will appear in the documents library view:
See Also: