WebDAV Client iOS Sample in C#, Xamarin
This is a legacy sample provided with IT Hit WebDAV Client Library for .NET v3 and earlier.
This sample is an iOS file provider application that runs in the background and processes requests from iOS file system API.
You can use any iOS application, that utilize standard iOS 11+ Browse dialog, such as Microsoft Word for Mobile, iWork Pages, etc. to open documents from your WebDAV server, edit and save document back to server. You can use iOS Files application to navigate file structure, upload, copy, move and delete documents.
Typically you will customize this sample to your needs to open documents from your DMS/CRM/ERP system.
Requirements
- iOS 11+
- Mono 5.18.1.3+
- Xamarin.iOS 12.4.0.64+
- Xcode 10.2+
- Visual Studio Community 2019 for Mac v8.0.4+, Stable Channel.
Solution Structure
The iOS sample solution consists of 3 projects: container application, an extension project and a common code.
The container application provides UI to enter WebDAV server URL and user credentials. You can modify this application to adapt to your needs. Typically, you will hardcode the WebDAV server URL, implement required authentication and customize UI used for connecting to your server.
The extension project runs in the background and implements a file system on iOS (file provider). It processes requests from iOS applications sent via iOS file system API, reads and writes files, lists folders content, copies, moves, locks and unlocks documents. The iOS extension can be installed only as part of a container application, you can not install the extension application by itself.
Running the Sample
In the following steps we will describe how to configure and run iOS sample in the development environment. You will create an Apple group ID, Apple app identifies and Apple provisioning profiles. Than you will update the sample container application project and extension project to use the created IDs and profiles.
Login to Apple developer account here: https://developer.apple.com/. To complete steps below you must have an App Manager role.
-
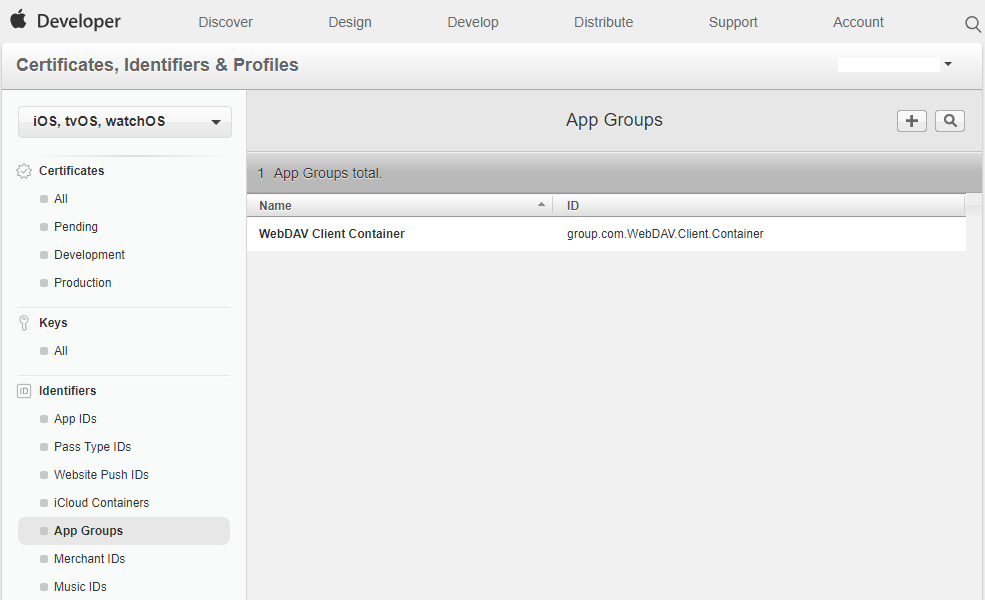
Create App Group. Navigate to Certificates, IDs, Profile->iOS, tvOS, watchOS-> Idenbtifiers->App Groups and create a new group.
-
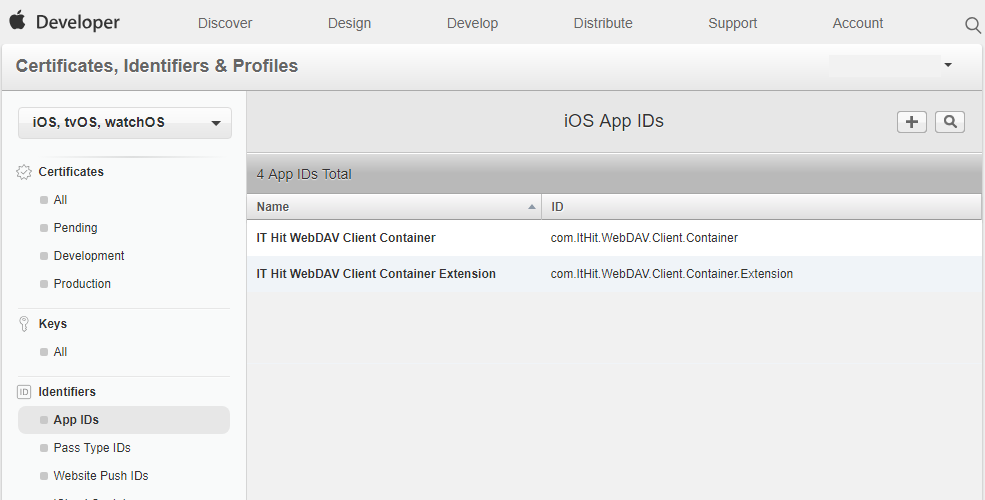
Create Apple iOS App IDs. Navigate to Certificates, IDs, Profile->iOS, tvOS, watchOS-> Identifiers->App IDs. Create 2 identifiers that will be unique for your project. One will be used for container application another – for extension.
-
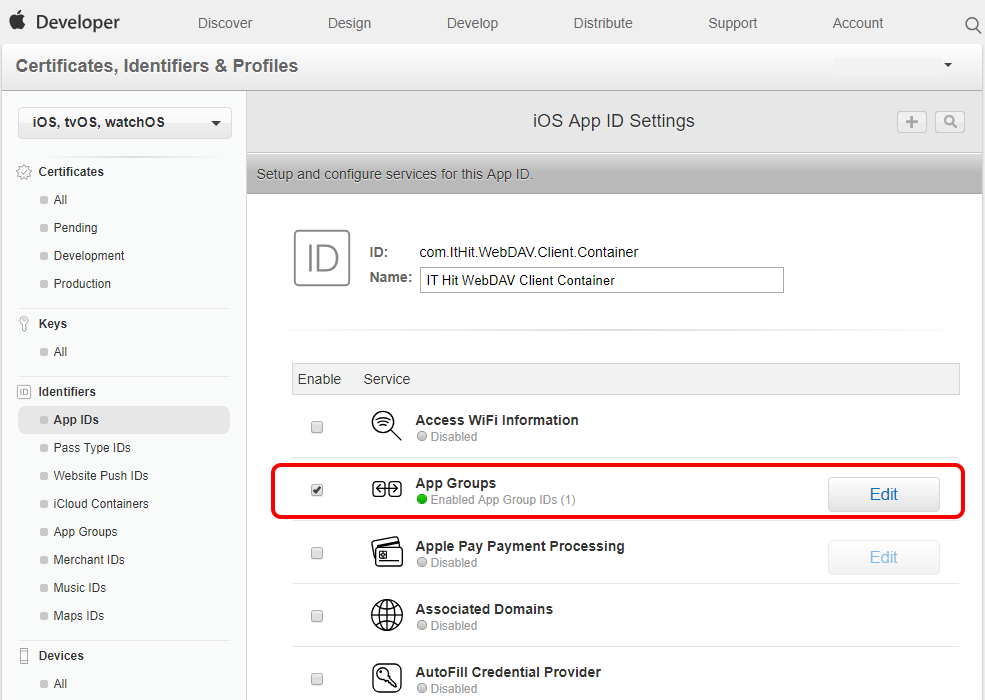
Add app identifiers to group. Add both identifiers created in Step 2 to group created in Step 1. Select identifier and click on Edit. Than check App Groups checkbox, select Edit button and select the group created in Step 1.
-
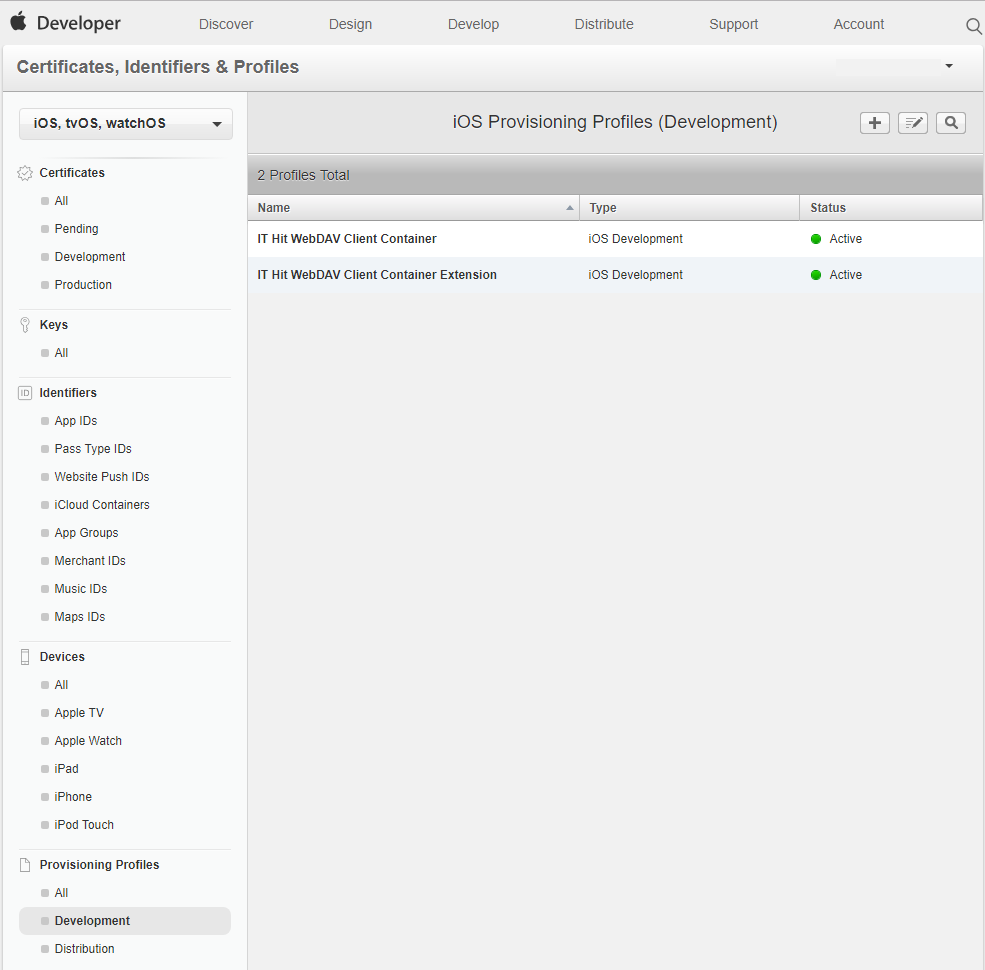
Create Provisioning Profiles. Navigate to Certificates, Identifiers & Profiles -> Certificates, Identifiers & Profiles -> Development and create 2 profiles, one for container and another for extension. Associate each profile with extension ID and container ID respectively.
- Download profiles and certificates in XCode. Run XCode and go to Xcode Menu > Preferences -> Accounts tab. Select team and click on “Download Manual Profiles”. You can find more detailed instructions here.
- Set bundle identifier name in Container project. The bundle identifier is located in WebDavContainer/Info.plist file. You can edit it either in Visual Studio or directly in Info.plist file in CFBundleIdentifier field (by default it is set to com.ItHit.WebDAV.Client.Container). You must set this identifier to the value specified in Step 1.
- Set bundle identifier name in Extension project. The bundle identifier is located in WebDavContainer/Info.plist file. You can edit it either in Visual Studio or directly in Info.plist file in in CFBundleIdentifier field (by default it is set to com.ItHit.WebDAV.Client.Container). You must set this identifier to the value specified in Step 1.
- Configure iOS bundle signing in Container project. In Visual Studio and select info.plist in the project tree. Select Manual Provisioning. Click on “Bundle Signing Options” button.
Select Signing Identity and Provisioning Profile. Set Custom Entitlements to Entitlements.plist. - Configure iOS bundle signing in Extension project. In Visual Studio and select info.plist in the project tree. Select Manual Provisioning. Click on “Bundle Signing Options” button. Select Signing Identity and Provisioning Profile. Set Custom Entitlements to Entitlements.plist.
- Configure application permissions in Container project. Select Entitlements.plist and select group created in Step 1 in App Groups field.
- Configure application permissions in Extension project. Select Entitlements.plist and select group created in Step 1 in App Groups field.
- Set App Group ID in code. Edit AppGroupsSettings.cs in /WebDavCommon/ specify AppGroupId.
- Set license. Download the license file here. With the trial license the product is fully functional and does not have any limitations. As soon as the trial license expires the product will stop working.
Open /WebDavContainerExtension/FileProviderExtension.cs file and set license string:
string license = @"<?xml version='1.0'...";
Now you are ready to compile and run the project.
Using iOS File Provider Extension
In this section we describe how to use your deployed application on the end user device.
Connecting to WebDAV Server
The sample is provided with an application that you will use to connect to server (the container application). You will specify WebDAV server URL and login credentials in it.
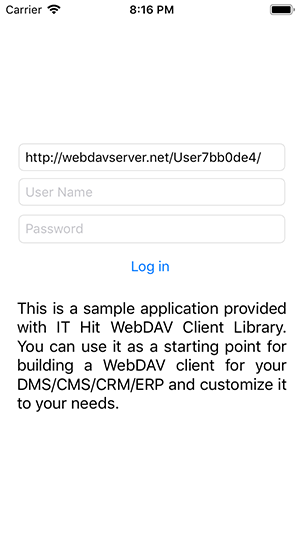
The sample supports Basic, Digest, Integrated Windows (NTLM & Kerberos) authentication. To connect to anonymous server just live the credentials fields blank. You can adapt this application to your needs and implement a custom authentication scheme if required.
Enabling iOS File Provider Extension
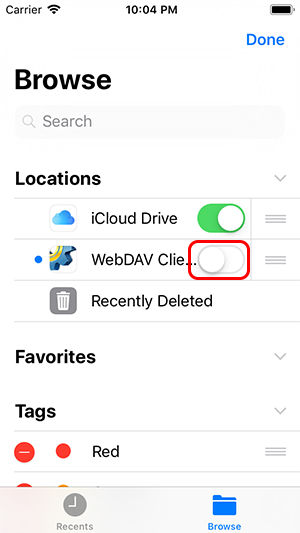
After deployment to iOS your file provider extension is disabled by default. To enable it run any application that can open or browse documents, such as Microsoft Word, iWork Pages, iOS File etc. and enable it in Locations list.
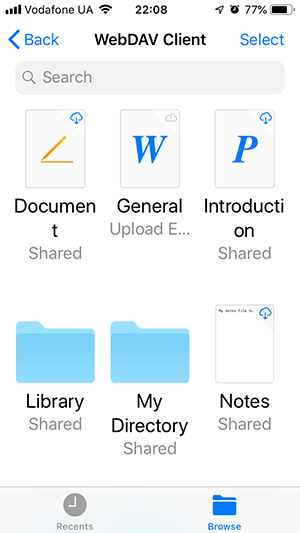
For example run iOS Files and select Browse tab. You will see a red dot in Locations list indicating that a new file provider extension is available.

Click on More Locations and enable the extension.
Now you can browse, open and save documents to your WebDAV server using standard iOS 11+ Browse dialog. For example in iOS Files application your documents from our WebDAV demo sites will look like the following: