WebDAV Drive App Deployment via Intune
Overview
WebDAV Drive App can be deployed to managed devices with Microsoft Intune using two installation methods: via Microsoft Store or via a direct MSIX package.
Regardless of the installation method, the initial configuration logic is the same: it is not technically possible to pass custom parameters directly into the packaged app during deployment. Instead, the application reads its settings from an external configuration file created by a PowerShell script.
Deployment consists of two main steps:
- Create the configuration file on the device.
- Install WebDAV Drive App.
It is recommended to create the configuration file first and install the application afterward. This allows WebDAV Drive App to apply the configuration automatically on first launch.
Before You Begin
Configuration File Location
The configuration file path is generated dynamically based on the AppID value:
C:\ProgramData\<AppID>\webdavdrive-config.json
In the script, the path is built as follows:
$ConfigFile = "$env:ProgramData\$AppID\webdavdrive-config.json"
For example, if AppID = 'WebDAVDrive', the resulting path is:
C:\ProgramData\WebDAVDrive\webdavdrive-config.json
Configuration Parameters
The configuration file can contain the following parameters:
- WebDAVServerURLs — the WebDAV server URL.
- UserFileSystemRootPath — the local mount folder.
- WebDAVClientLicense — the license key.
- DriveVisible — whether the drive should be visible in the system.
Step 1. Create the Configuration File with PowerShell
A PowerShell script is used to create the configuration file on managed devices.
Example Script
$WebDAVServerURLs = 'https://www.webdavsystem.com/'
$UserFileSystemRootPath = '%USERPROFILE%\WebDAVDrive'
$WebDAVClientLicense = '... LICENSE HERE ...'
$DriveVisible = $true
$AppID = 'WebDAVDrive'

$ConfigFile = "$env:ProgramData\$AppID\webdavdrive-config.json"

New-Item -ItemType Directory -Path (Split-Path $ConfigFile) -Force | Out-Null

$config = @{
    WebDAVServerURLs      = $WebDAVServerURLs
    UserFileSystemRootPath = $UserFileSystemRootPath
    WebDAVClientLicense   = $WebDAVClientLicense
    DriveVisible          = $DriveVisible
}

$json = $config | ConvertTo-Json -Depth 10

$json = $json `
    -replace '\\u003c', '<' `
    -replace '\\u003e', '>' `
    -replace '\\u0026', '&' `
    -replace '\\u0027', "'"

$json | Set-Content -Path $ConfigFile -Encoding UTF8
Write-Host "Config saved to: $ConfigFile"
Values to Update Before Deployment
Before deploying the script, replace the following values with your own:
- $WebDAVServerURLs — your WebDAV server URL.
- $UserFileSystemRootPath — the local folder where WebDAV content will be mounted.
- $WebDAVClientLicense — your license key.
- $DriveVisible — set to $true or $false.
- $AppID — the application identifier.
Important: AppID must match the application ID expected by the app.
Deploy the Script in Intune
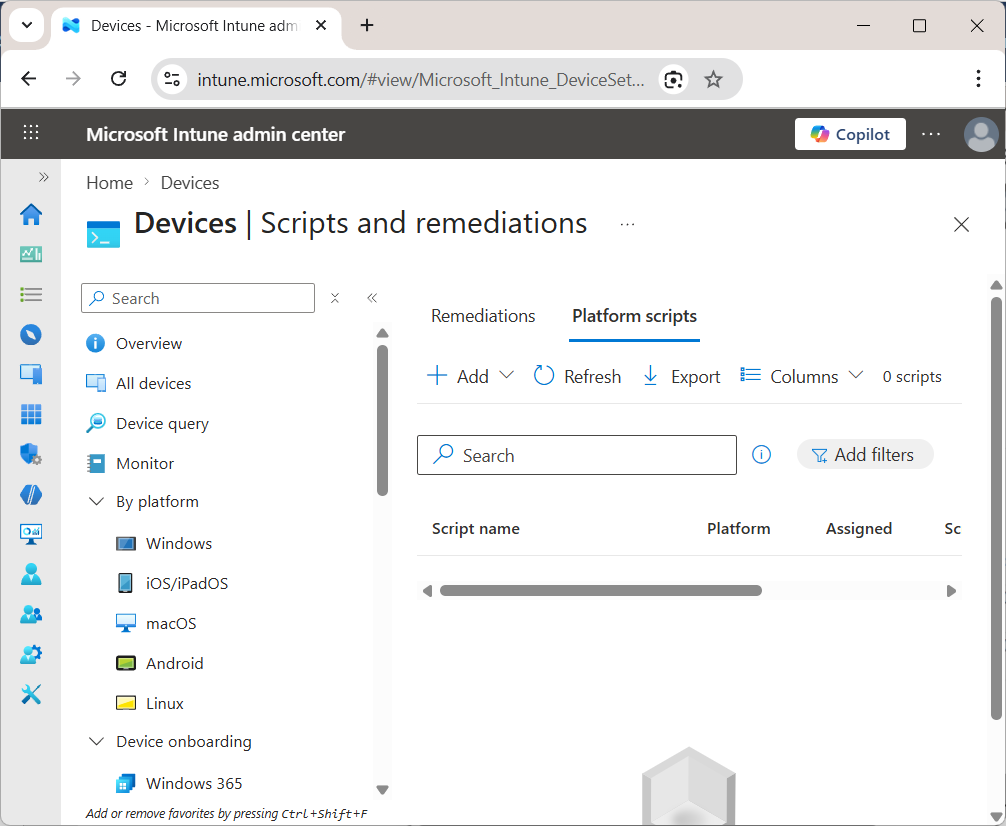
Go to Devices > Scripts and remediations > Platform scripts.
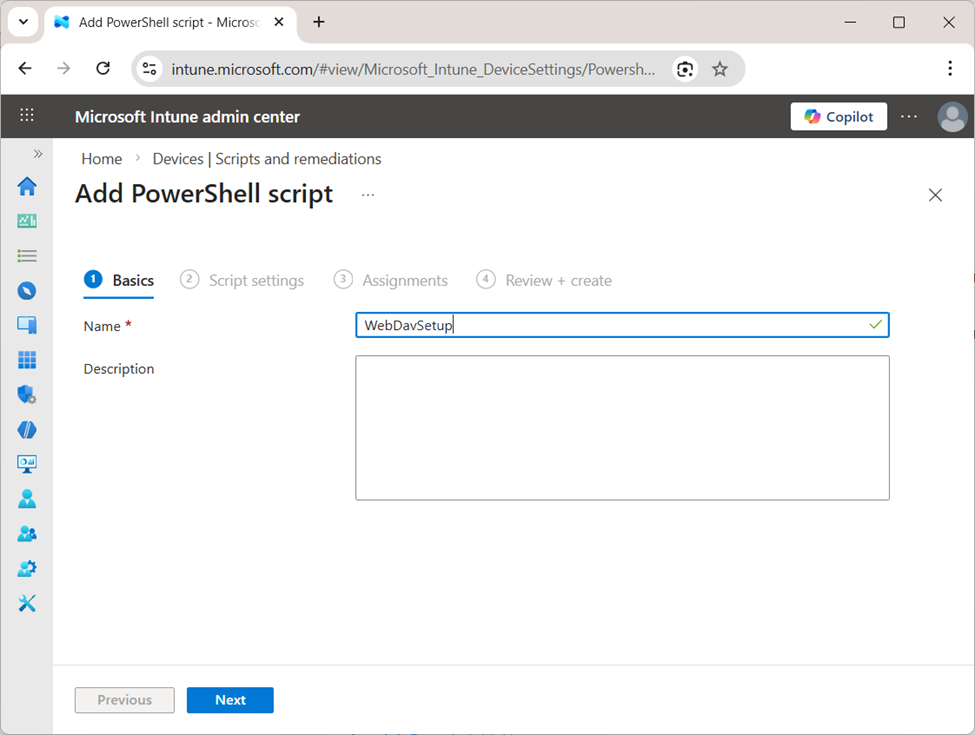
Create a new PowerShell script. In the Basics step, enter the script name and optional description.
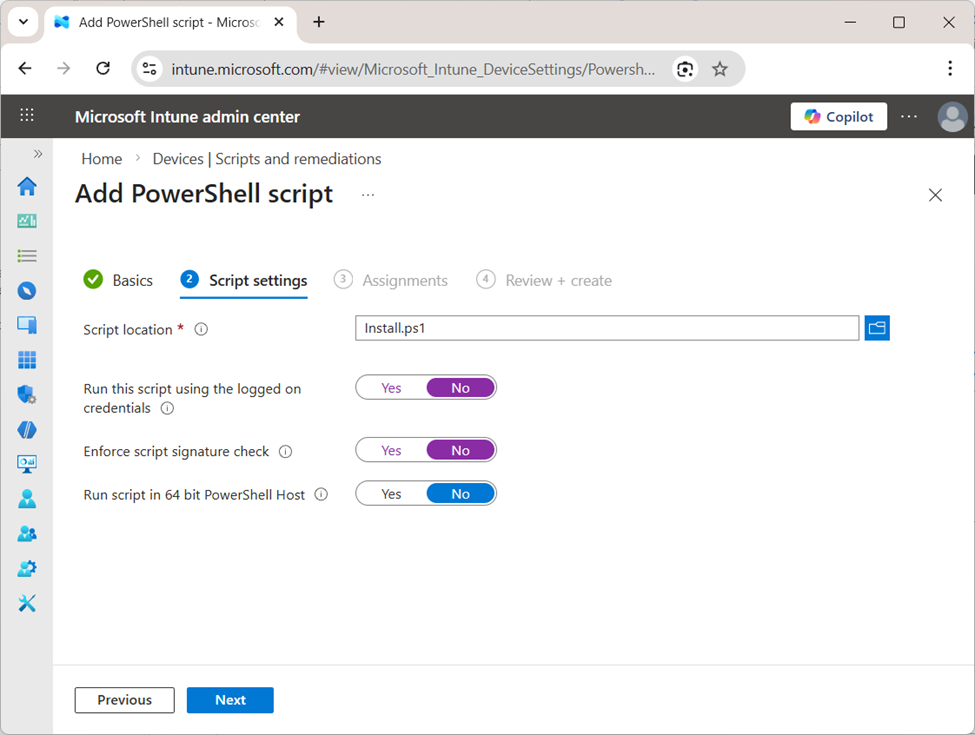
In the Script settings step, upload the script file and configure the execution options:
- Run this script using the logged on credentials: No
- Enforce script signature check: No
- Run script in 64 bit PowerShell Host: Yes
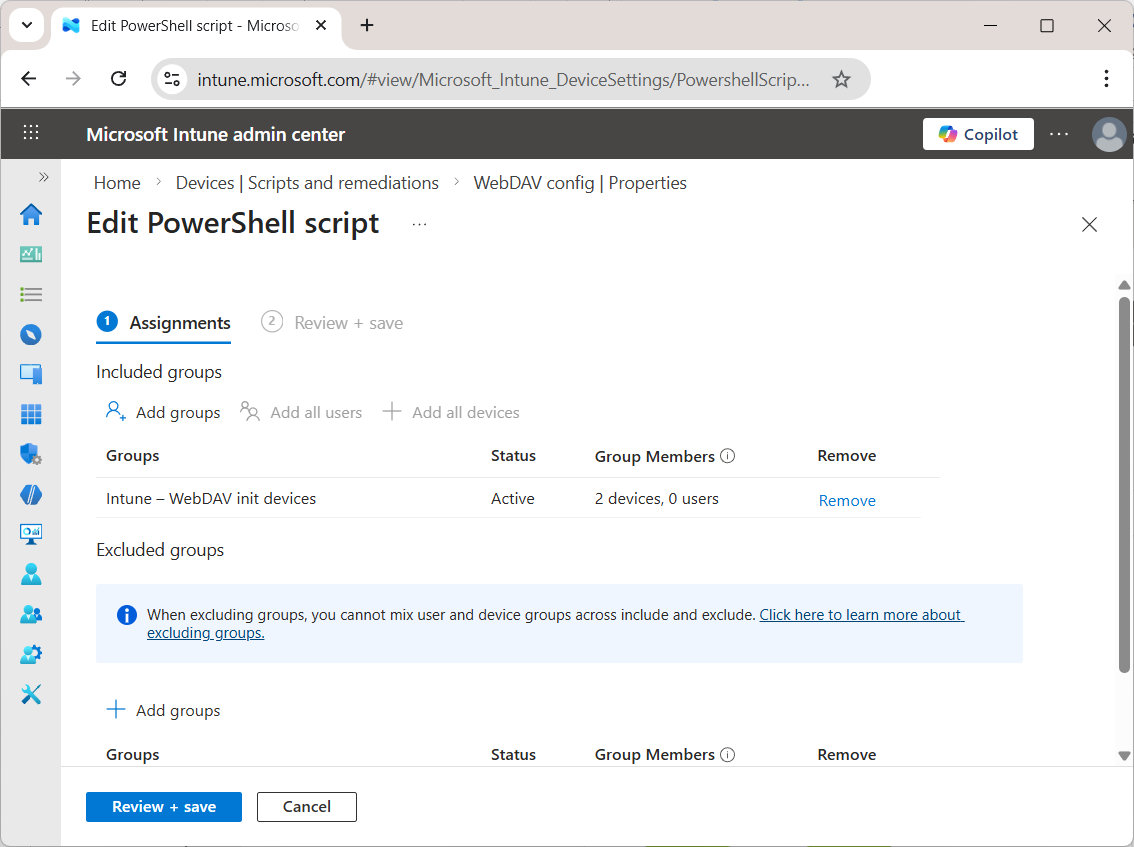
Assign the script to the required devices or groups.
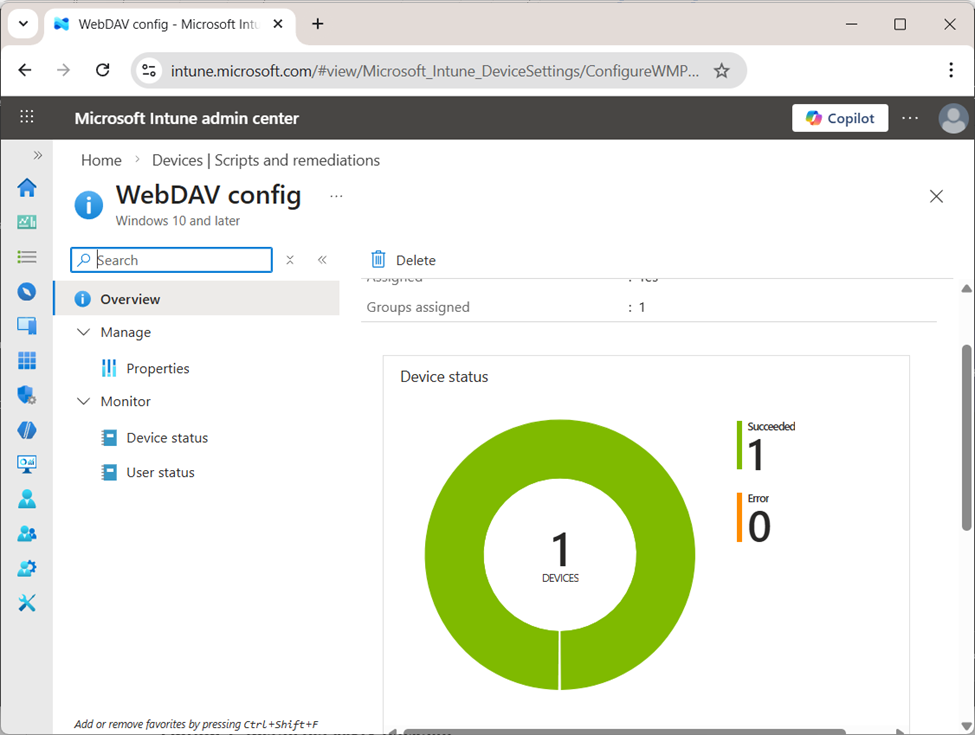
After the script is deployed, verify in Device status that the deployment completed successfully.
Step 2. Install WebDAV Drive App
After the configuration file has been deployed, install the application using one of the following methods.
Option A. Install via MSIX Package
Use this option when WebDAV Drive App is distributed as an .msix package.
Important: If the MSIX package is signed with a self-signed certificate, that certificate must be deployed to the target devices as a trusted certificate before the application is installed. Otherwise, Windows will block the installation.
To deploy the certificate, go to Devices > Windows > Configuration in Intune, create a new profile, select Windows 10 and later, choose Templates, and then select Trusted certificate. Upload the certificate file, assign the profile to the required device or user groups, and complete the profile creation.
Warning: Deploy a trusted certificate only if you fully trust its source and scope. Installing an incorrect or overly broad certificate may introduce security risks on managed devices. Always assign the certificate only to the devices or users that require it.
-
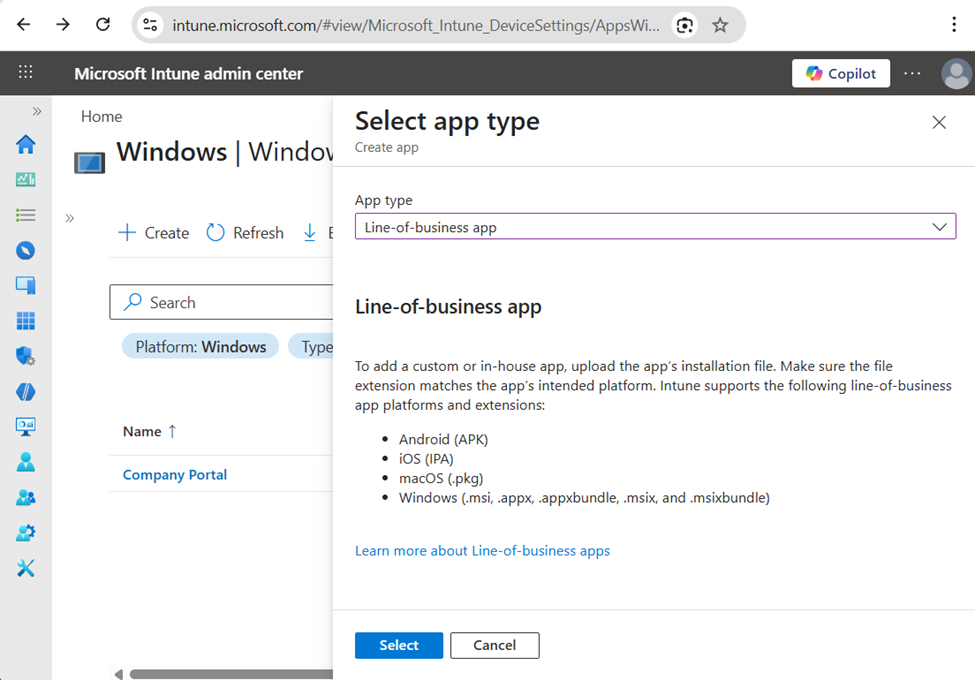
Select Line-of-business app. In Apps > Windows > Windows apps, click Create and select Line-of-business app as the app type.
-
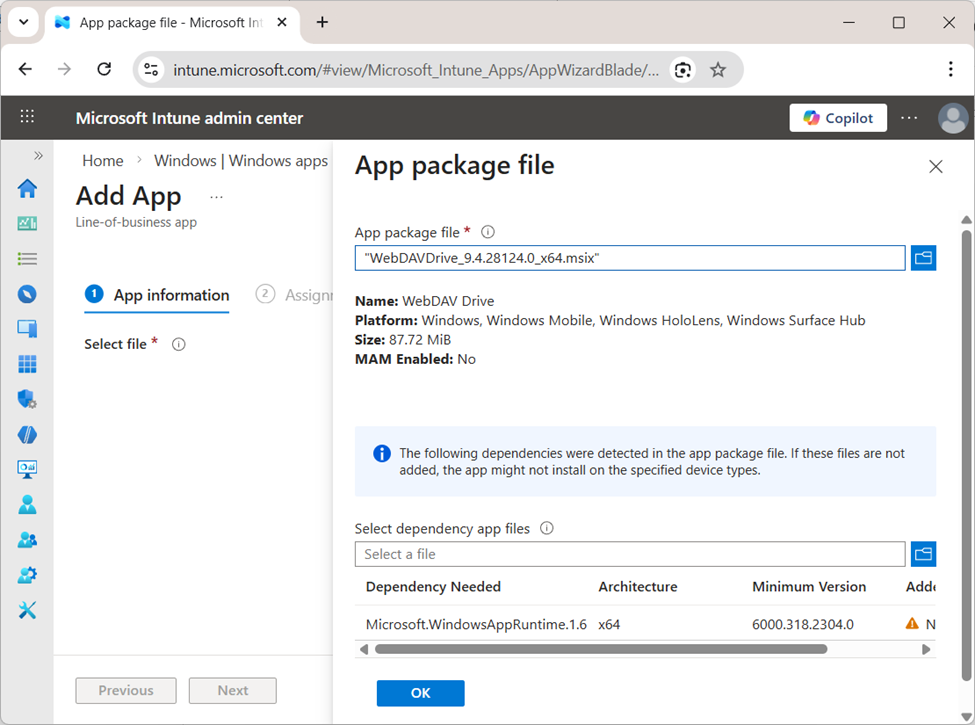
Upload the MSIX package. In the App package file section, select the WebDAV Drive App .msix file.
-
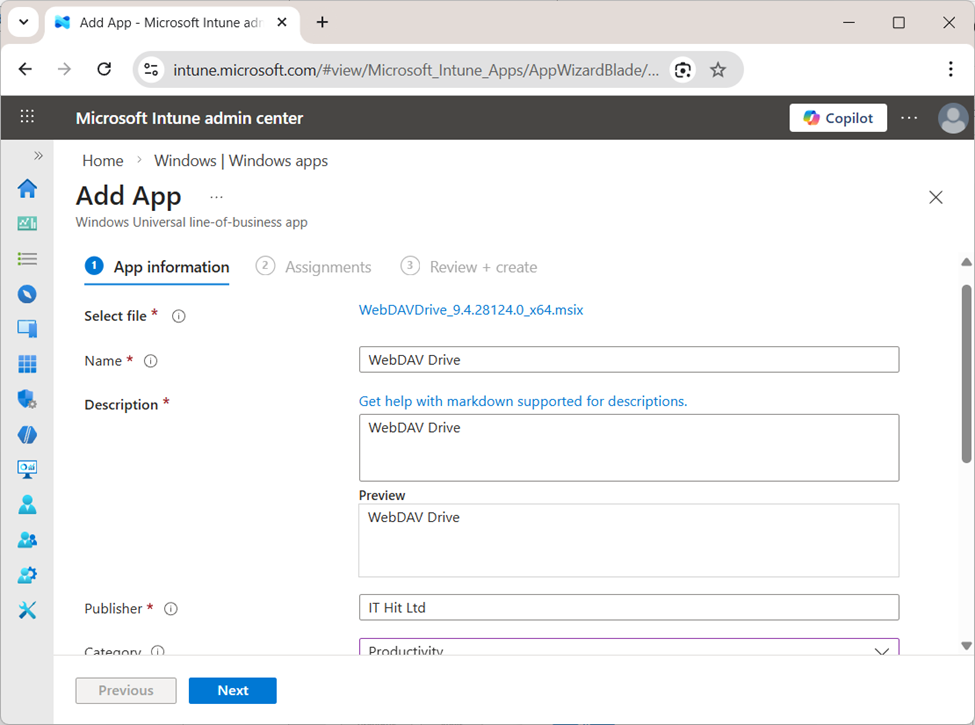
Enter the app information. Review or update the application details such as Name, Description, Publisher, and Category.
-
Configure assignments. Select the users, devices, or groups that should receive the application.

-
Review and create. Review the configuration and create the deployment.

-
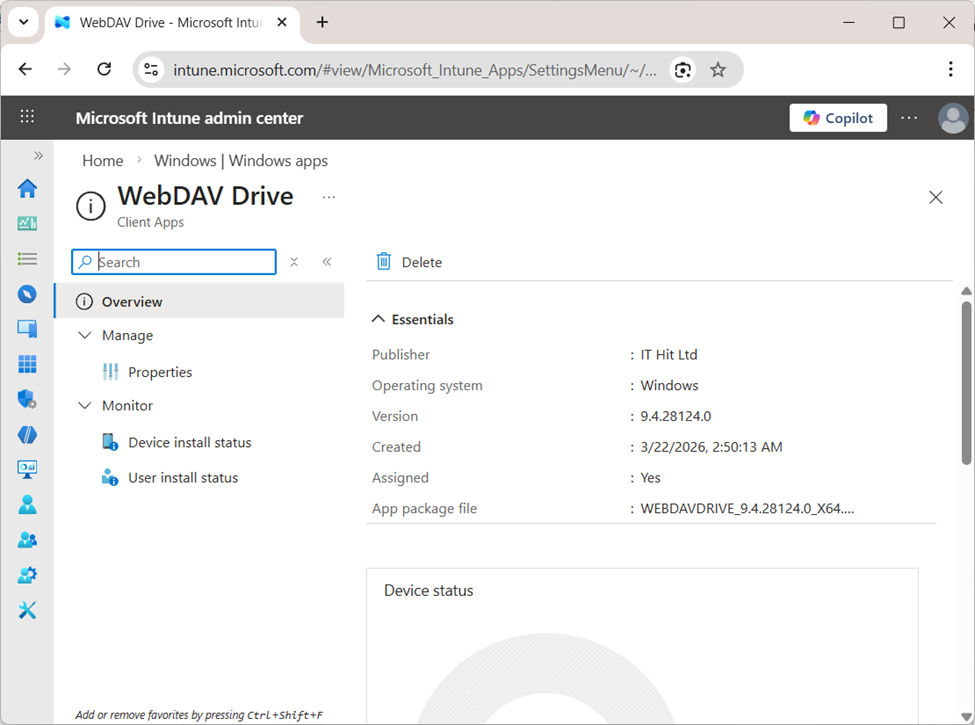
Verify creation. Open the app overview page in Intune and confirm the package was uploaded successfully.
-
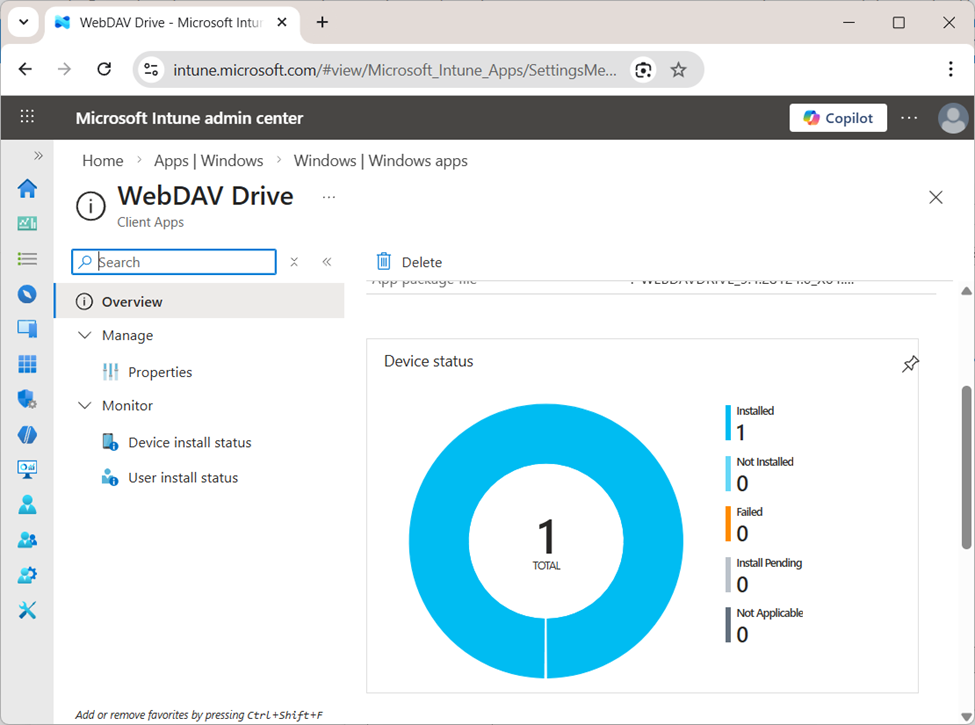
Verify installation. In Device install status, confirm that WebDAV Drive App shows as Installed on the expected devices.
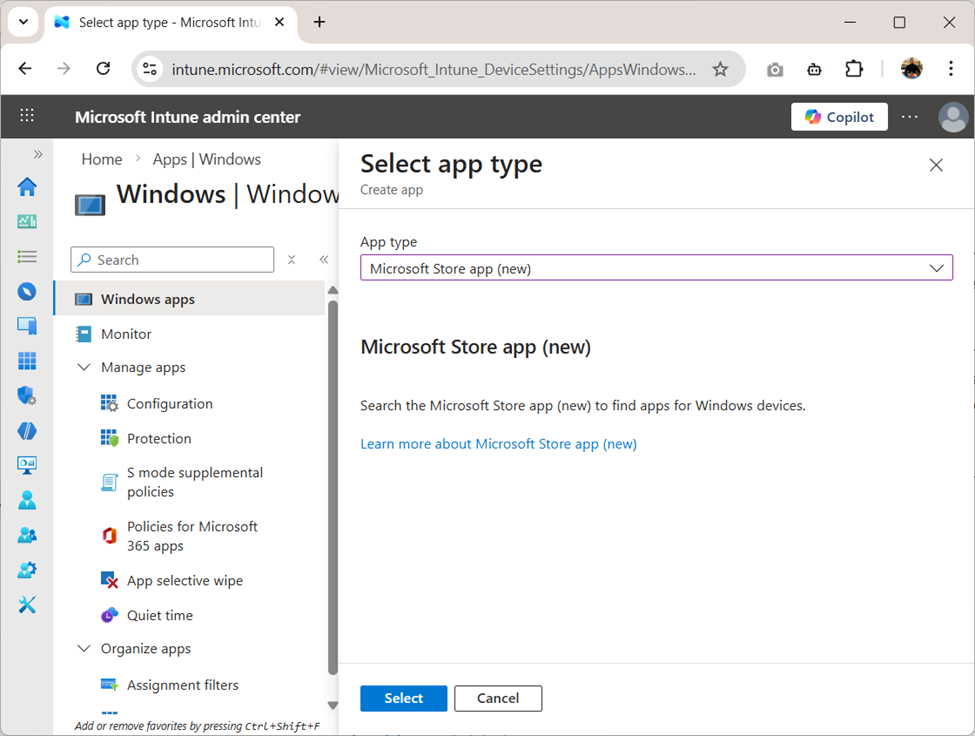
Option B. Install via Microsoft Store
Use this option when WebDAV Drive App is available in Microsoft Store.
-
Select the app type. In Apps > Windows > Windows apps, click Create and select Microsoft Store app (new).
-
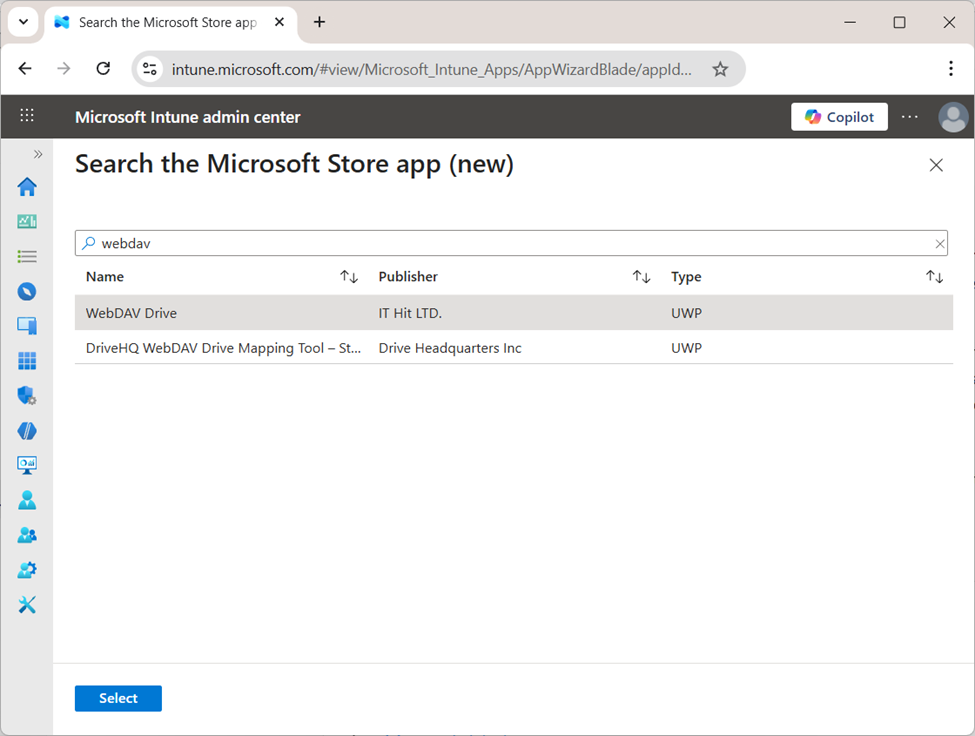
Open the search. In the App information step, click Search the Microsoft Store app (new).
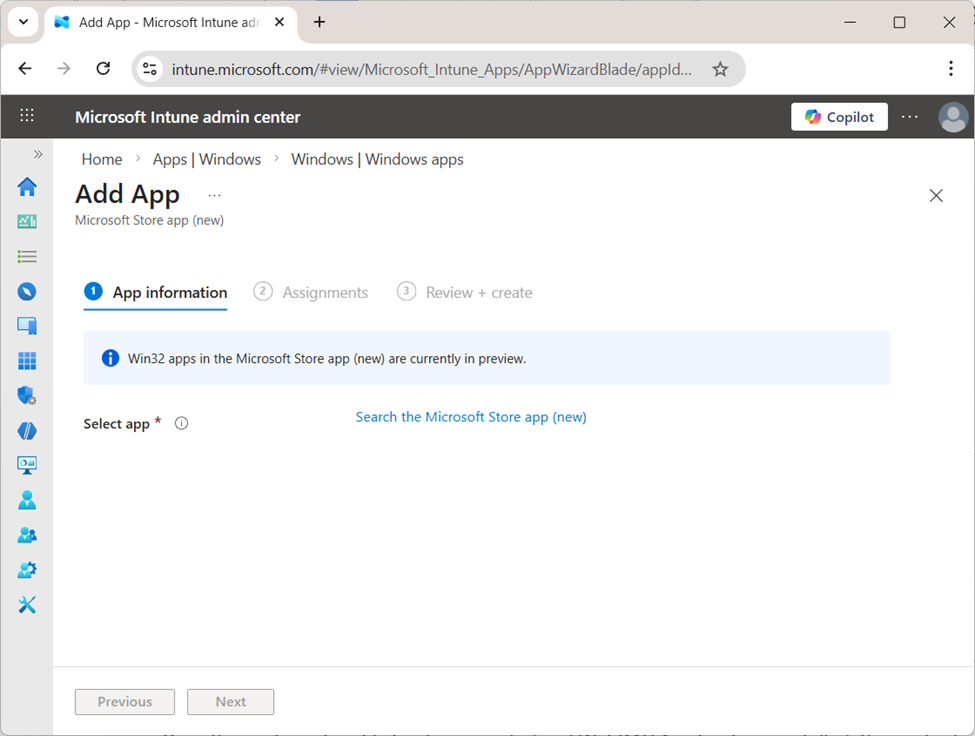
-
Select WebDAV Drive App. Search for WebDAV Drive, select the correct application from the results, and confirm.
-
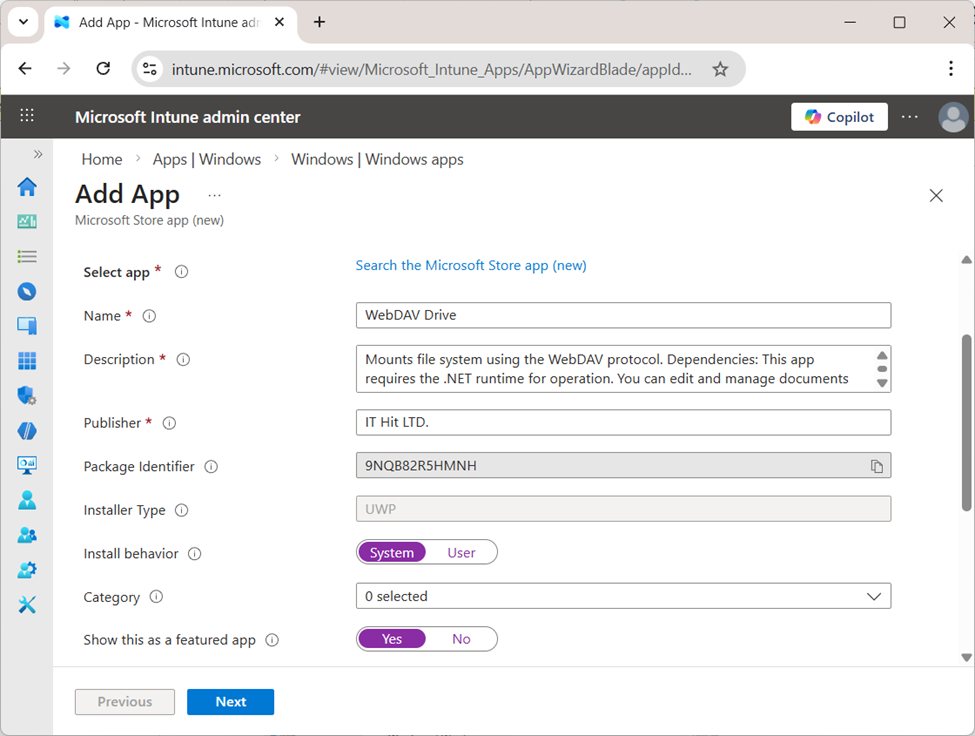
Review the app information. Verify the populated fields such as Name, Description, Publisher, and Installer Type.
-
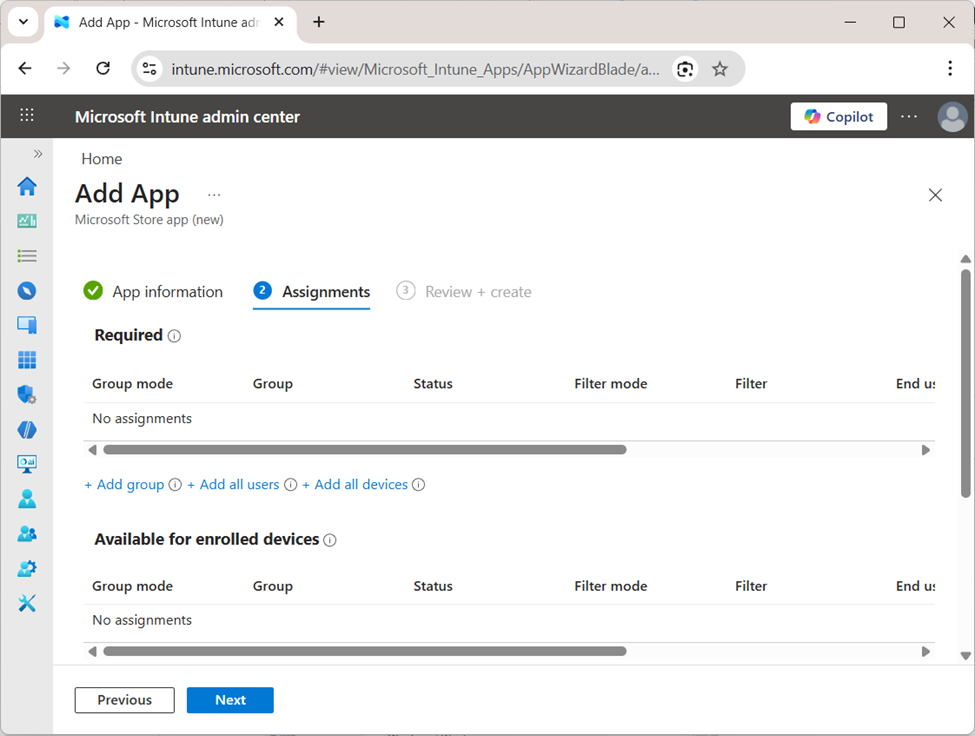
Configure assignments. Specify which users, devices, or groups should receive the application.
-
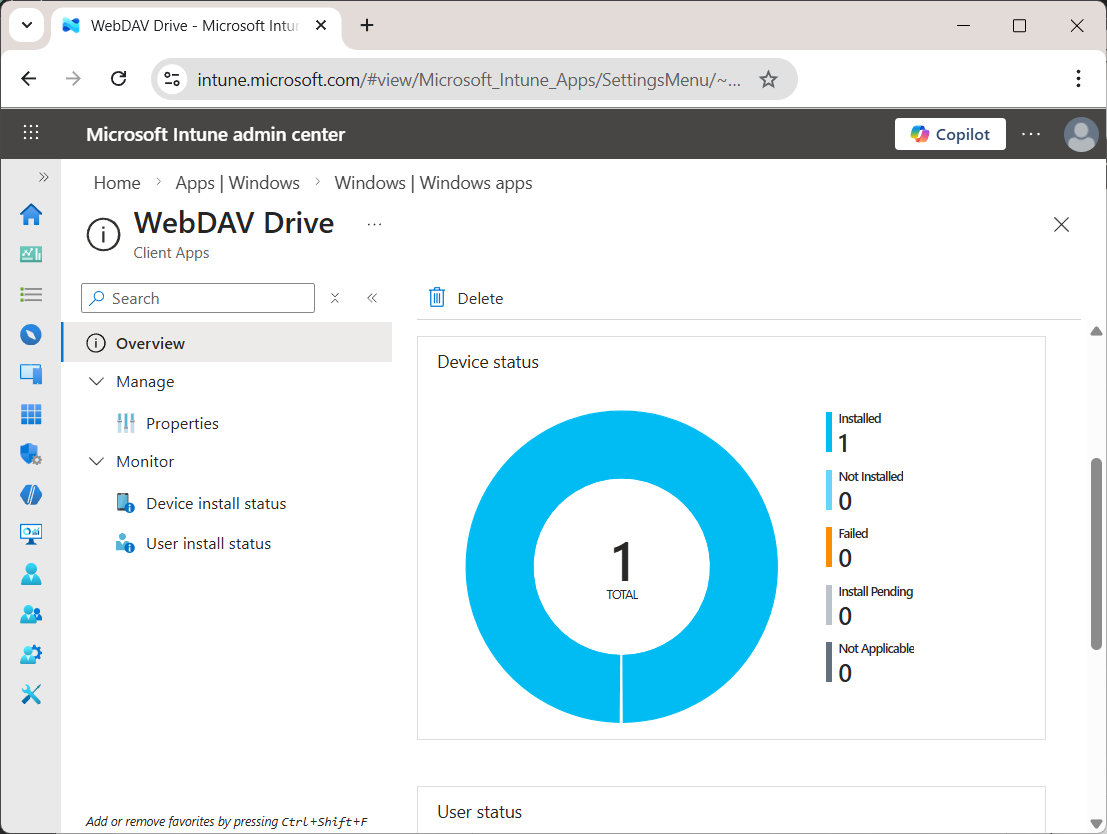
Complete and verify. Finish the deployment and verify in Intune that the application was installed on the expected devices.
Verify the Deployment
- Confirm that the configuration file exists at C:\ProgramData\<AppID>\webdavdrive-config.json.
- Confirm that WebDAV Drive App is installed on the expected devices.
- Launch the app and verify that the configuration was applied automatically.
How It Works After Deployment
When WebDAV Drive App starts, it checks whether the configuration file exists at C:\ProgramData\<AppID>\webdavdrive-config.json. If the file is found, the application reads the parameters and verifies whether they have already been applied. If the configuration is new or has changed, the application updates its settings accordingly.
This makes it possible to centrally manage the application configuration through Intune without requiring users to configure anything manually.