Azure Data Lake Full-Text Cognitive Search Configuration
In this article
Azure Data Lake Full-Text Cognitive Search Configuration
The WebDAV Data Lake sample supports full-text indexing search inside Microsoft Office documents content using Azure Cognitive Search. Follow the steps below to configure the search in your sample:
- Create a new Azure Cognitive Search service.
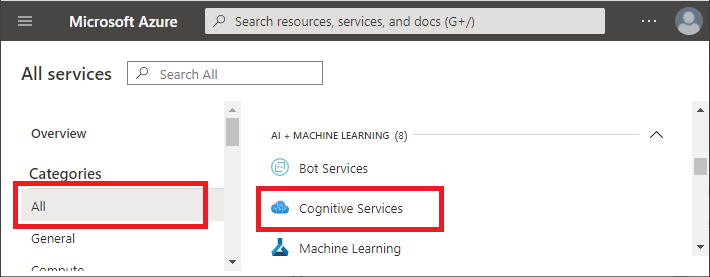
In the Azure portal go to All Services -> Cognitive Services:
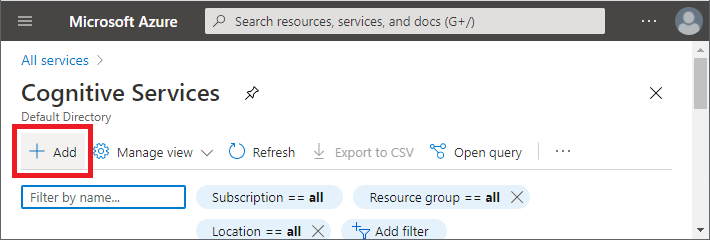
Select Add:
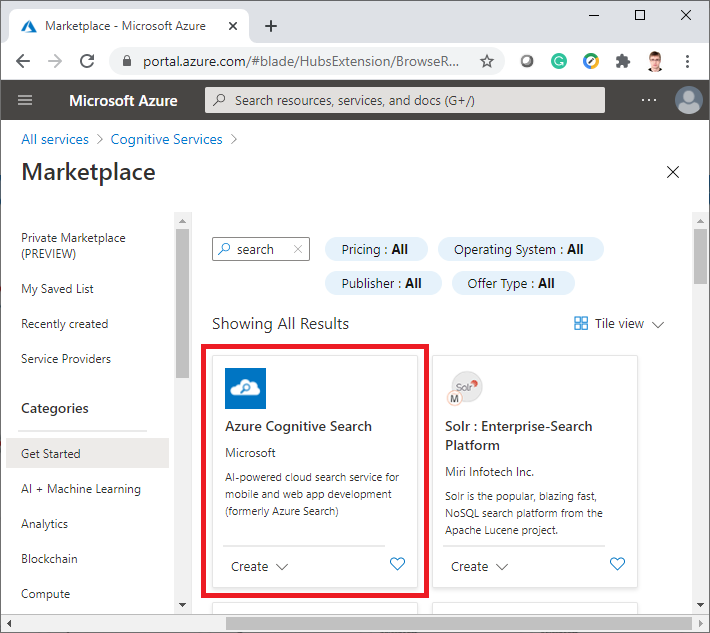
Select Azure Cognitive Search -> Create:
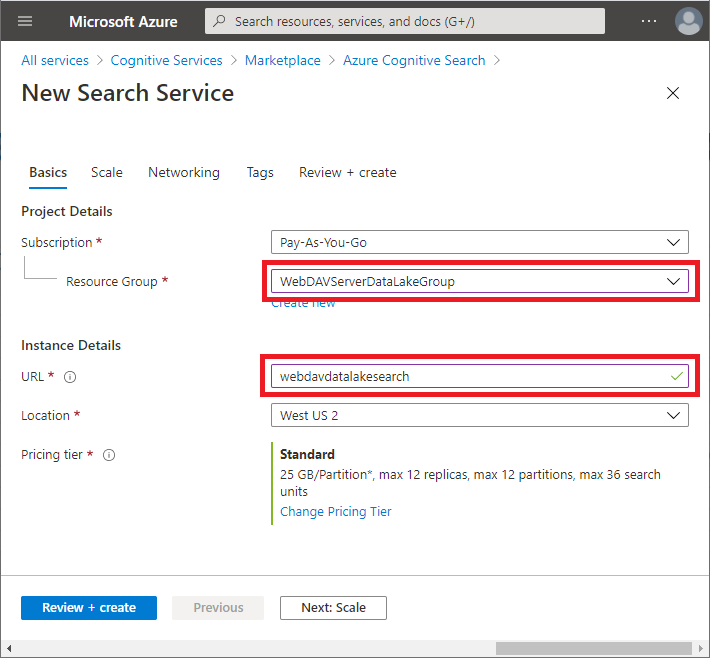
Specify the Azure Resource Group and URL:
Finally, confirm the new service creation.
- Configure the data source and indexing schedule.
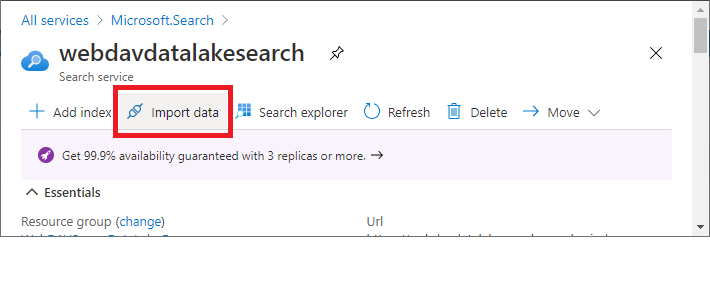
Go to the newly created search service and select Import Data:
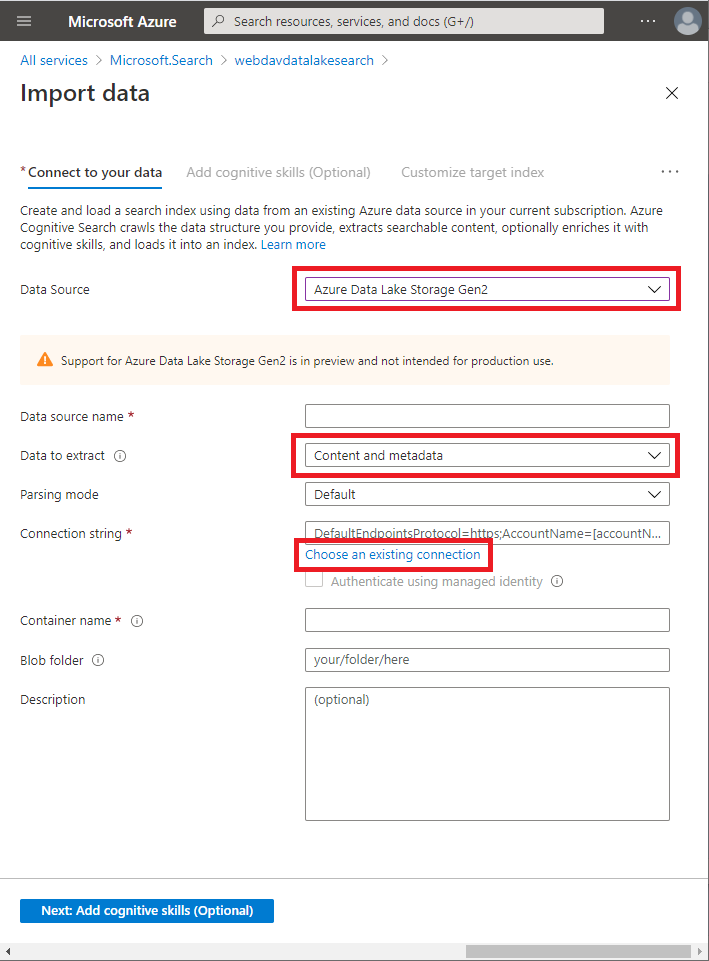
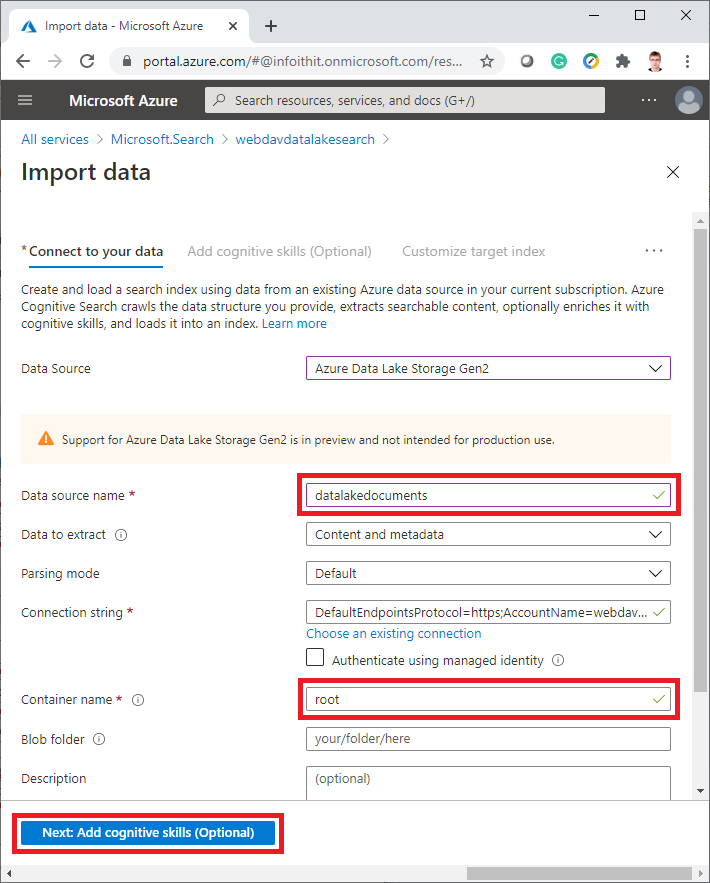
Select Azure Data Lake Storage Gen2 as your data source. Specify the data to extract: Content and metadata. Select Choose an existing connection:
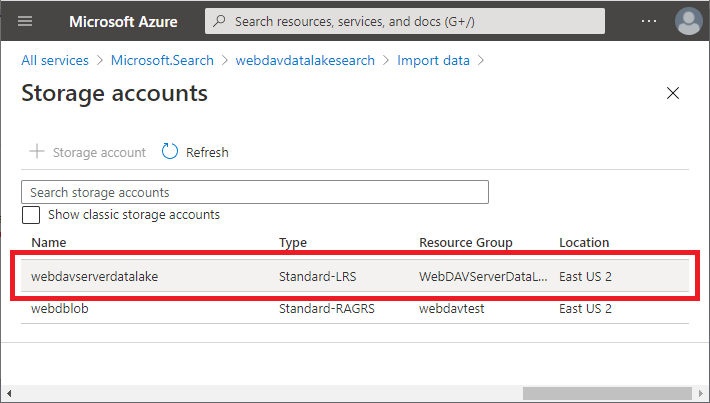
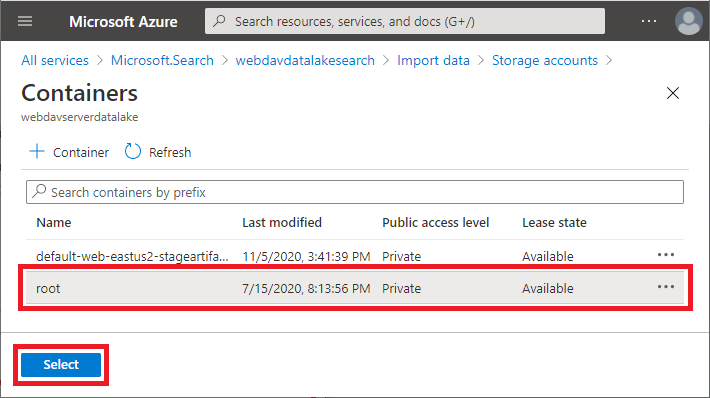
Select your storage account:
Select the container inside your storage account:
Specify the Data Source name and select Next:
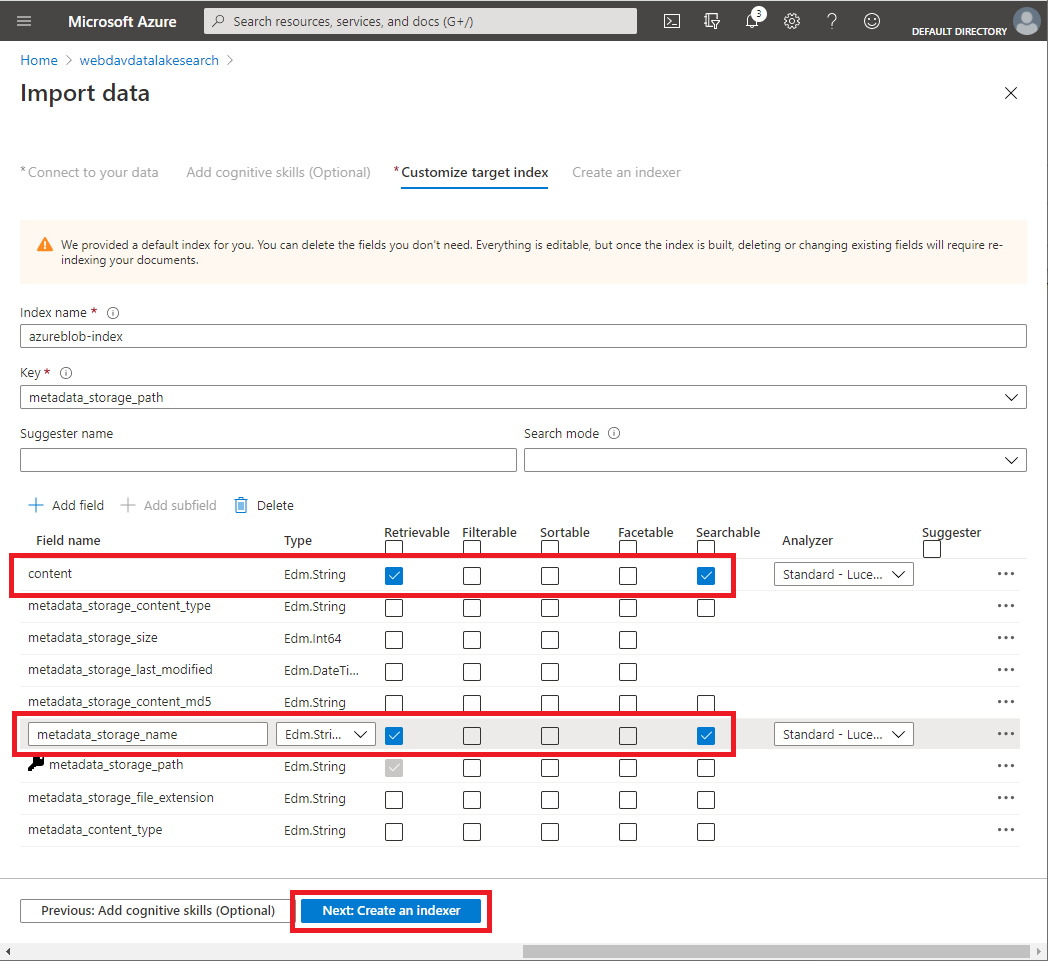
Go to the Customize target index tab and check the Retrievable and Searchable checkboxes for the content and metadata_storage_name fields. Select Next:
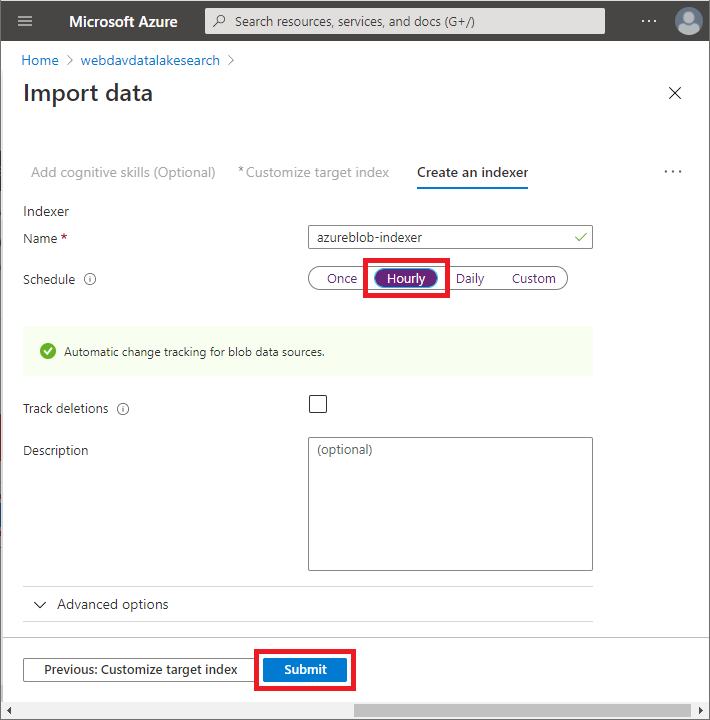
Specify the indexer Hourly schedule. Confirm the new data source creation:
- Specify configuration parameters in your project.
Copy your search service name and specify it in the Search->ServiceName in appsettings.webdav.json file:
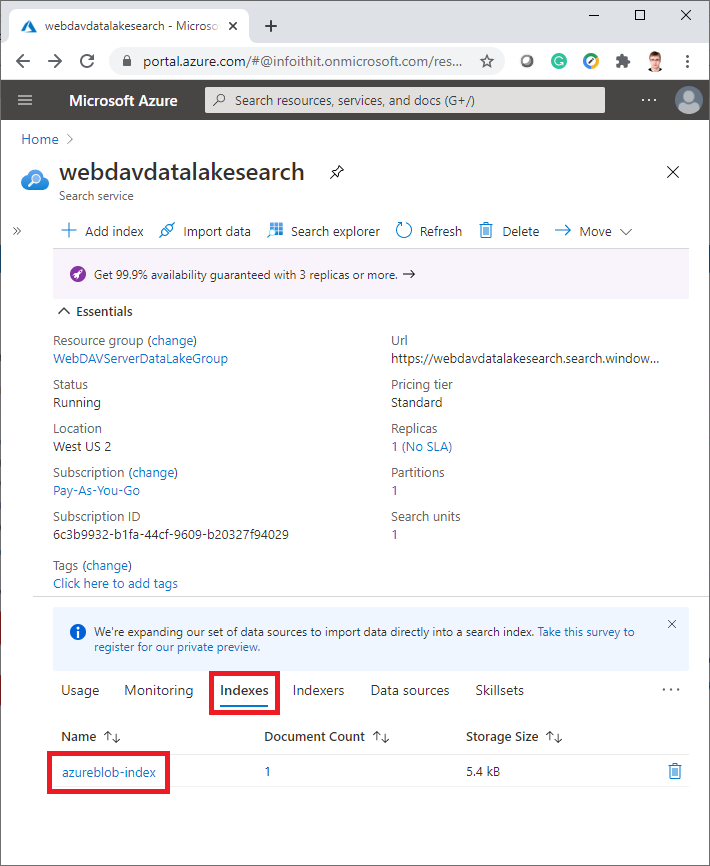
Go to the Indexes list in the Search Service Overview and copy your index name. Specify it in the Search->IndexName in appsettings.webdav.json file:
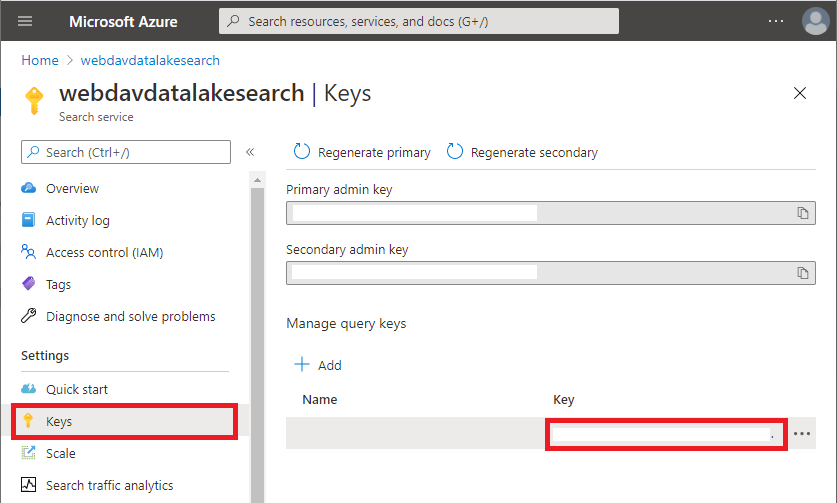
Go to the Keys in the Search Service and copy the query key. Specify it in the Search->ApiKey in appsettings.webdav.json file: